
Bring It to Life
- 2 lessons
- 60 minutes
Make a short wave animation, then save, export and explain your finished pixel art.
Downloads
6 files
Start with a blank 32 × 32 canvas in Piskel. Use the character reference as your guide and draw each small part yourself. Keep an editable .piskel save after every lesson; PNG and GIF are exports to share; the .piskel file keeps the editable project and its layer/frame structure. Save your own work before importing a comparison.
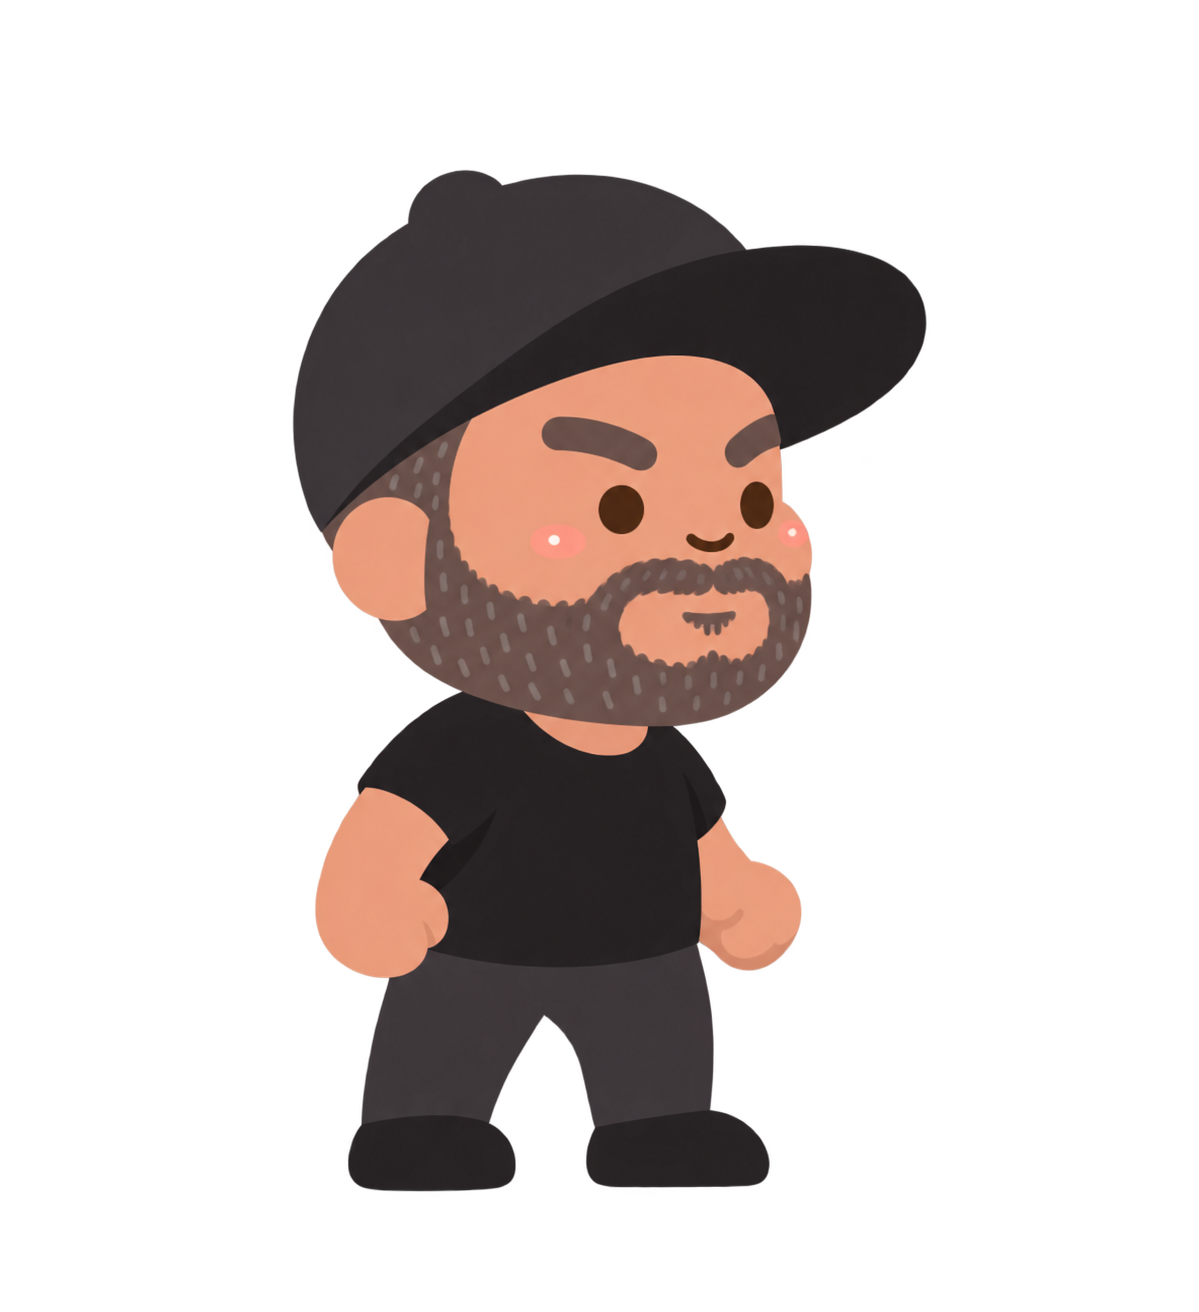
The supplied standing character used as a visual reference. Students draw a simpler pixel version from a blank canvas.
An editable comparison of the completed character and wave. Save your own .piskel before importing another project.
Separate end-of-lesson Piskel files for checking your progress. Extract the ZIP and open only the comparison you need.

The finished transparent 32 × 32 standing picture, ready to use as one game costume.

All three 32 × 32 frames arranged side by side in one transparent 96 × 32 PNG. Import as a sprite sheet only when your game editor supports it.
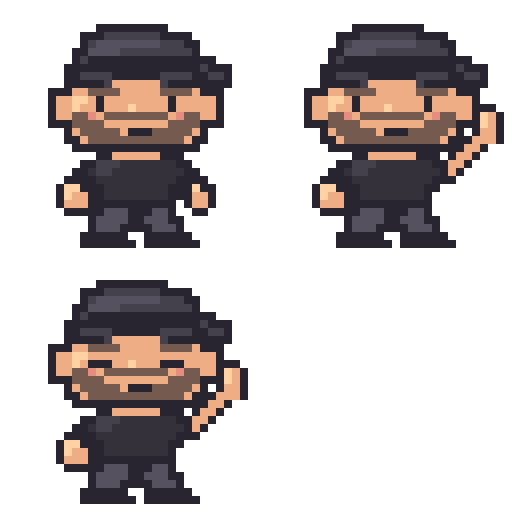
A 256 × 256 enlarged animation for previewing or sharing. Keep the editable .piskel project for drawing changes.
By the end
You’ll be able to…
- Create a three-frame wave, compare changes with onion skin, and choose a readable playback speed.
- Reopen an editable .piskel file and export a PNG sprite sheet and looping GIF.
Your lessons