
Build the Body and Clothes
- Build Your Character
- 40 minutes
- Beginner vector art · Ages 13–17
Put the smaller body behind the head and draw a shirt and trousers.
Downloads
6 files
Start with a blank document in VectorCraft and draw one small part at a time. Keep an editable .vectorcraft save after every lesson. SVG preserves vector shapes for other drawing tools; PNG is a picture export. Comparison projects are optional: save your own work before opening another file. Ask an adult for help installing the editor and organizing downloads.
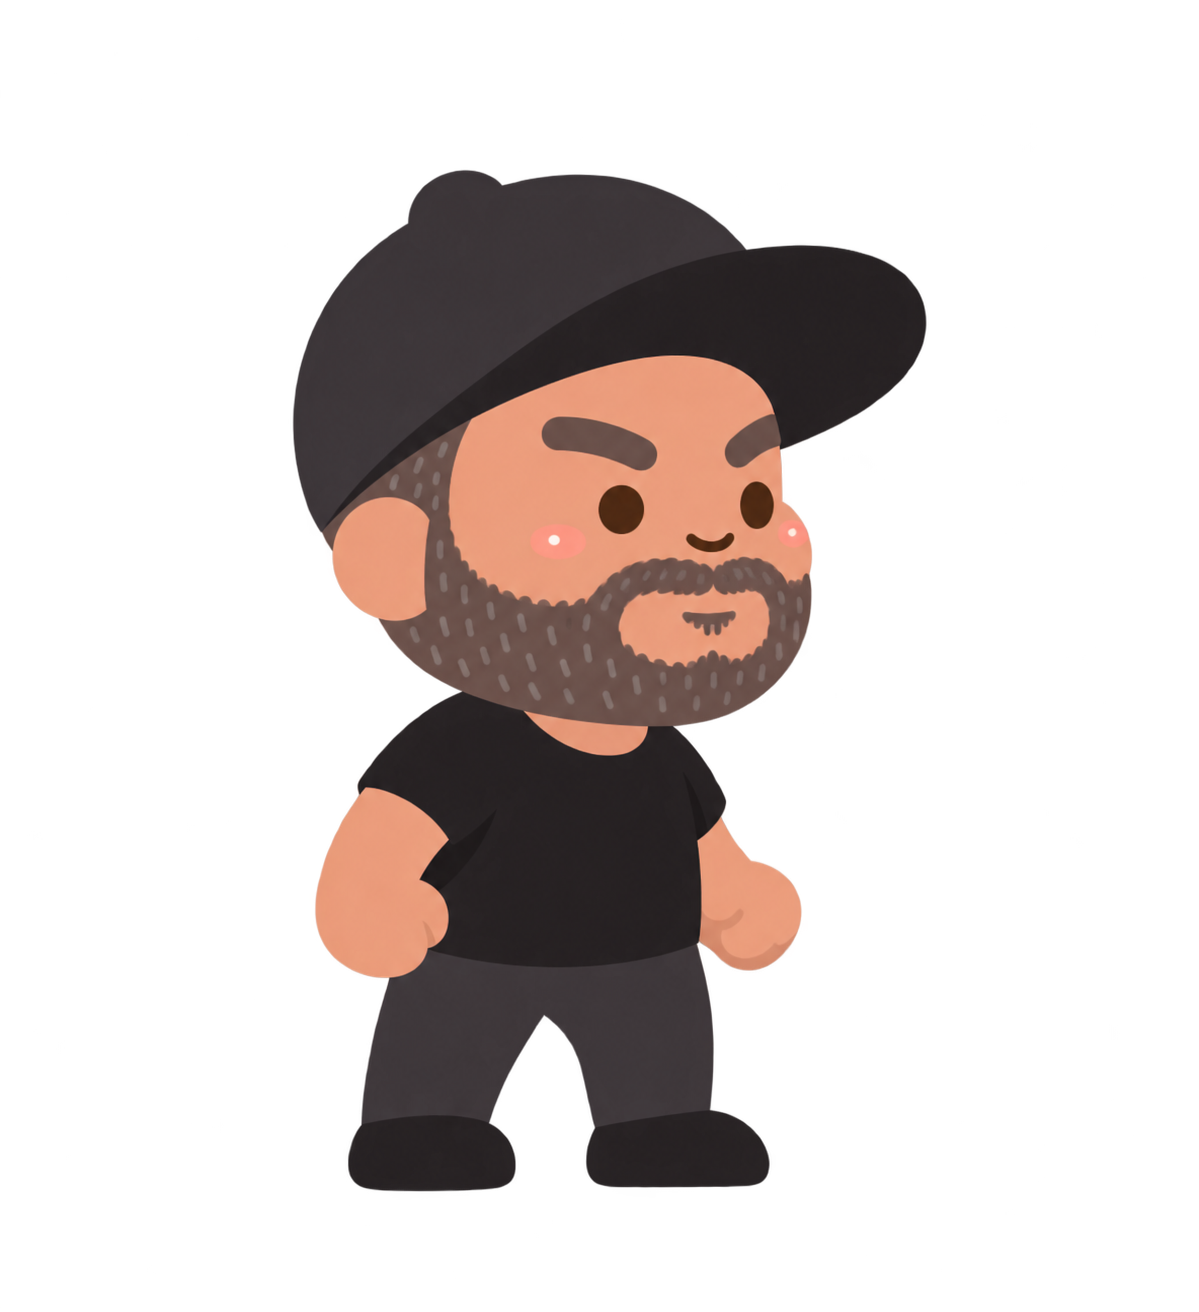
The supplied standing character used as a visual guide. Start with a blank document and build your own simpler vector version from shapes.
The editable character comparison. Keep your own .vectorcraft project before opening another file.
Eight separate end-of-lesson projects for checking your progress. Extract the ZIP and open only the matching comparison.
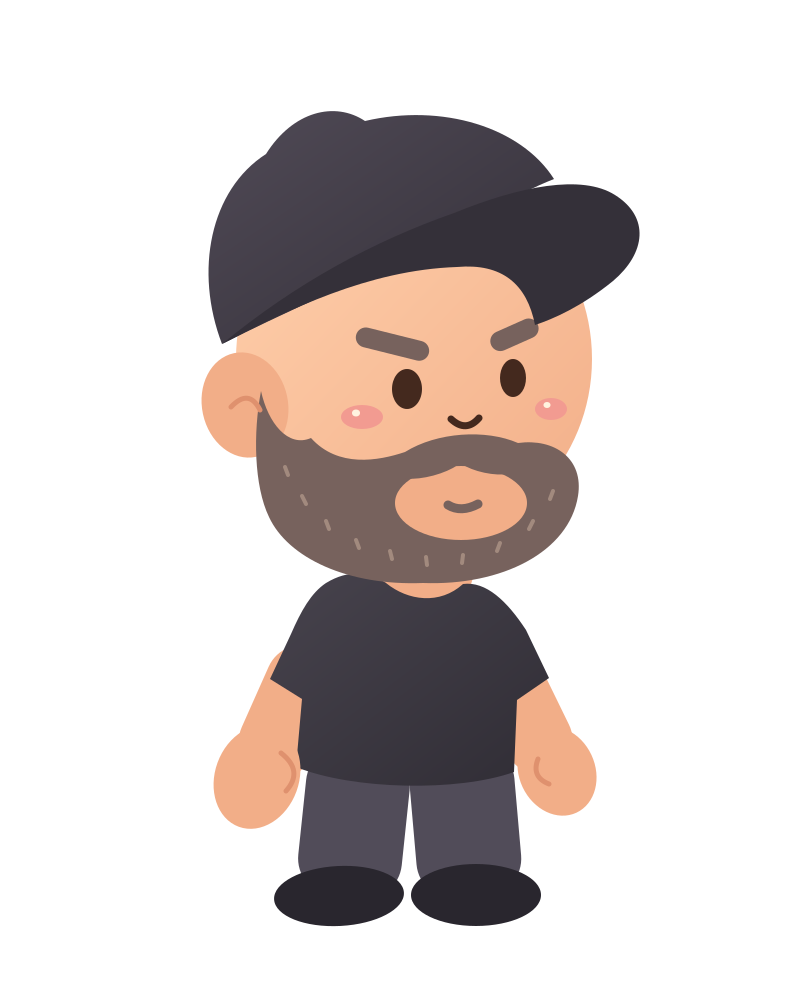
A scalable vector export with editable paths and shapes. Keep your native VectorCraft project too.
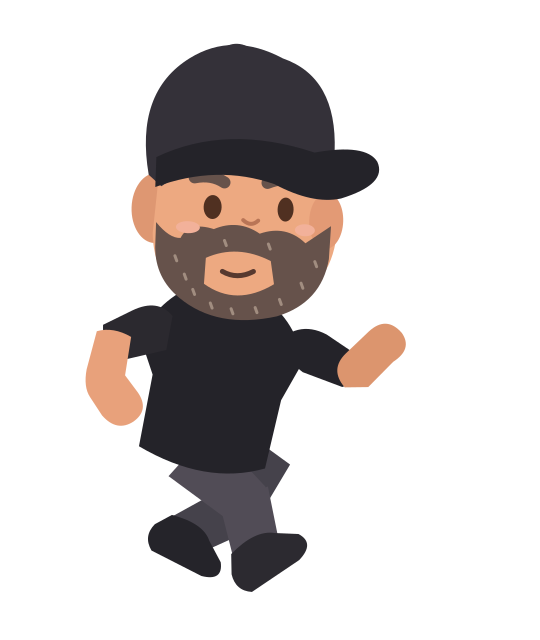
An editable SVG example for the optional platformer action-pose capstone.
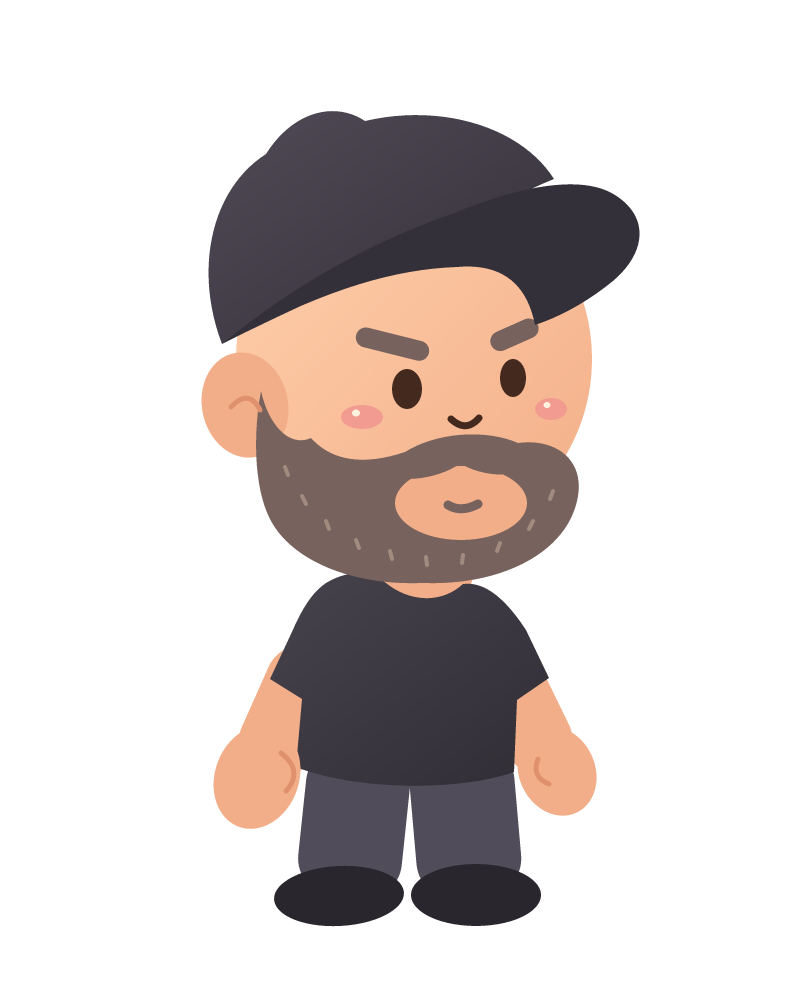
A transparent picture export for sharing or using as a game costume. A PNG keeps pixels, not editable vector paths.
Your goal
Use a lower Body layer, a neck ellipse, a closed shirt path and two rounded trouser shapes.
Our character has a large head and a smaller body. The clothes belong behind the head. We will organize them on a lower layer so drawing a shirt does not cover the beard.
Use the picture to place the shoulders, waist and feet before refining an edge. Keep room for arms at the sides and shoes at the bottom.
Step 1 — Add a Body layer below the head
- In Layers, add a new layer named Body. Move its row below Head and cap.
- Select Body before drawing. Objects on the upper layer appear in front of objects on this layer.
Check: Head and cap is above Body, and Body is the current drawing layer.
Step 2 — Draw the neck
- On Body, draw a skin-colored ellipse just under the beard, about 120 × 110 pixels. Use no Stroke.
- Let the upper part disappear behind the head. The shirt will hide much of the bottom. Name it Neck.
Check: A small skin-colored neck connects the head to the future shirt.
Step 3 — Draw the shirt silhouette
- Choose Pen, Fill #302D35 and Stroke None. Draw a closed shape with two rounded shoulders, short sleeves, two sides and a gently curved hem.
- Follow the pictured path from one shoulder around the sleeves and hem, then close it at the neckline. Keep the shirt narrower than the head. Name it Shirt.
Check: A dark T-shirt sits below the beard, with room beside both sleeves for arms.
Step 4 — Draw two trouser legs
- Choose Rounded Rectangle and Fill #514C59, with no Stroke. Draw two tall rounded leg shapes below the hem, each about 105 × 150 pixels, with a corner radius around 38 pixels.
- Tilt them slightly apart. Leave a narrow visible gap between the legs. Name them Left trouser leg and Right trouser leg.
Check: You can count two legs, and they fit above the space reserved for shoes.
Step 5 — Put the trousers behind the shirt
- Use Layers to put the two trouser objects below Shirt within the Body layer. Keep Neck below Shirt as well.
- Overlap the top of each leg with the shirt hem so there is no accidental gap at the waist.
Check: The shirt covers the top of the trousers, and the beard still appears in front of the body.
Step 6 — Check the proportions
- Deselect the artwork and compare the large head with the small body. Check that both legs stay inside the artboard.
- Adjust one shape if needed. Save this shirt-and-trousers stage before adding limbs.
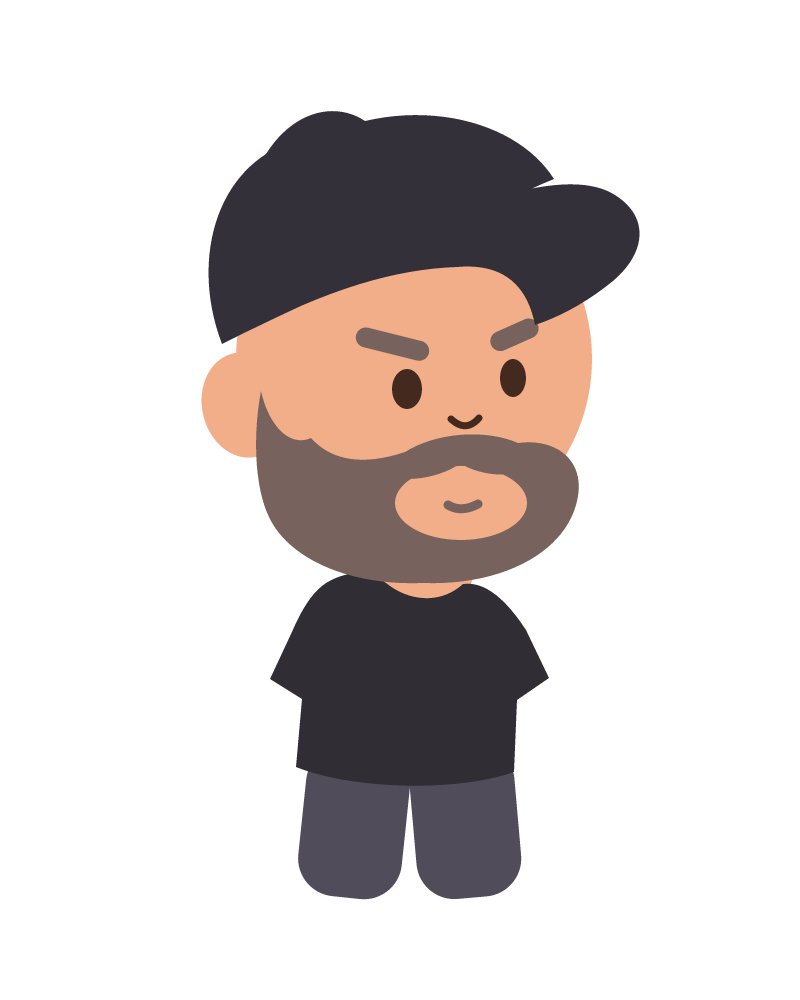
Check: The body looks connected, the layer order is clear, and there is space for hands and shoes.
Ready for the next step?
Return here anytime to review.
Lesson discussion
Ask a question or help a classmate. Mr. S can reply here.
Loading discussion…