
Add the Face and Beard
- Build Your Character
- 45 minutes
- Beginner vector art · Ages 13–17
Use a few clear shapes and short lines to make a friendly expression.
Downloads
6 files
Start with a blank document in VectorCraft and draw one small part at a time. Keep an editable .vectorcraft save after every lesson. SVG preserves vector shapes for other drawing tools; PNG is a picture export. Comparison projects are optional: save your own work before opening another file. Ask an adult for help installing the editor and organizing downloads.
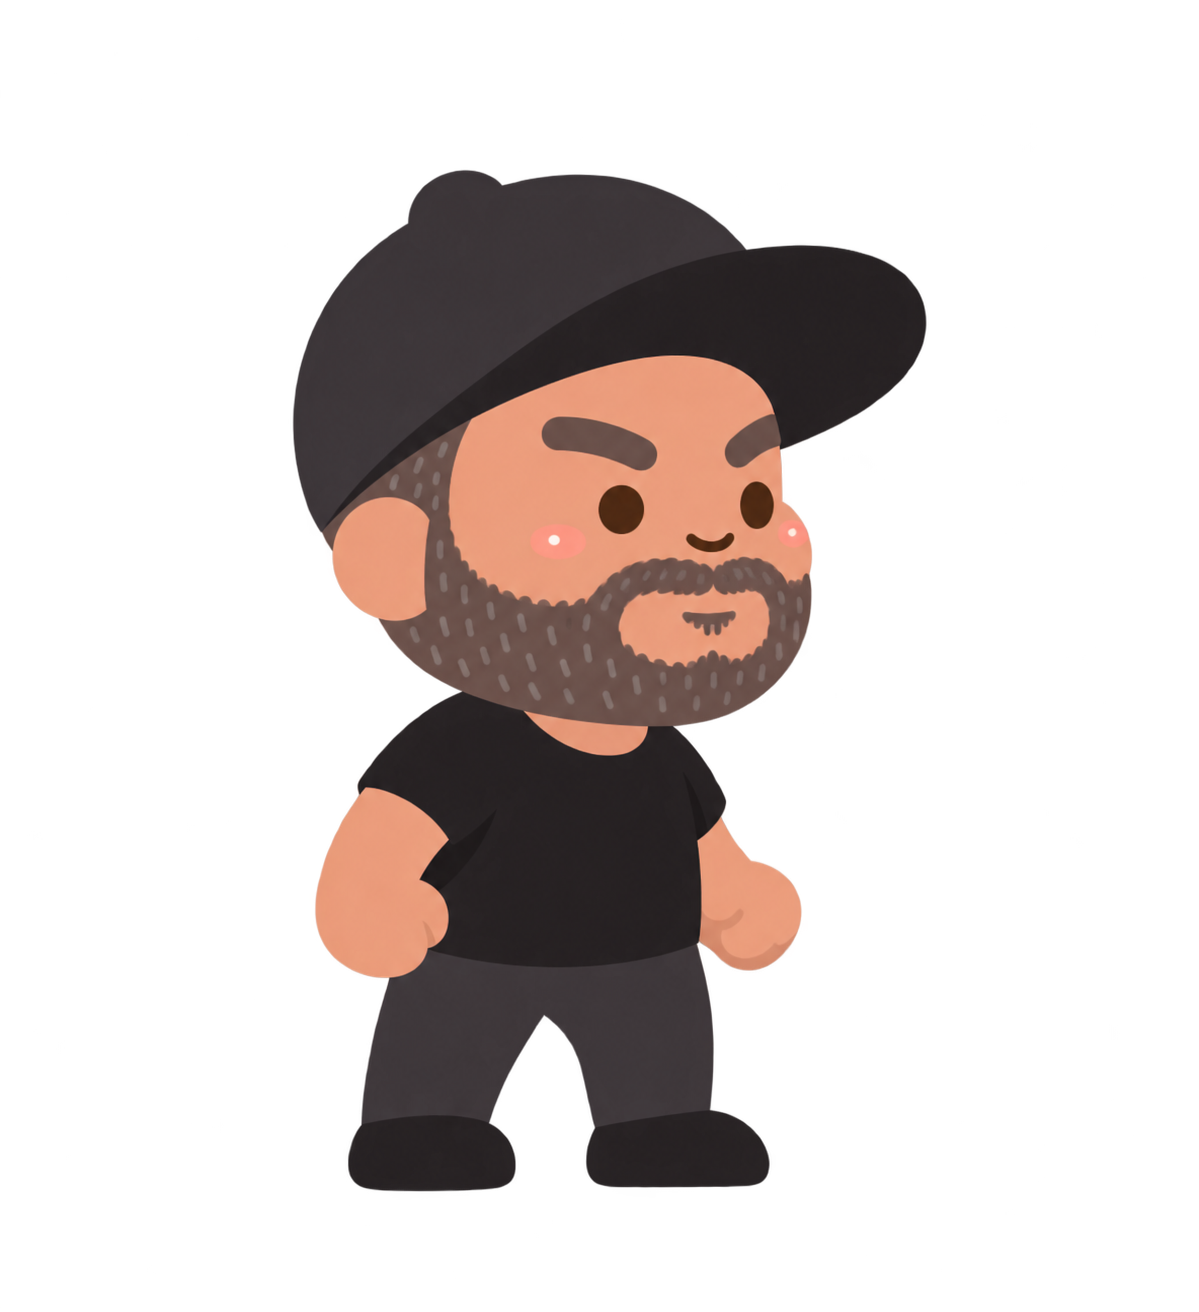
The supplied standing character used as a visual guide. Start with a blank document and build your own simpler vector version from shapes.
The editable character comparison. Keep your own .vectorcraft project before opening another file.
Eight separate end-of-lesson projects for checking your progress. Extract the ZIP and open only the matching comparison.
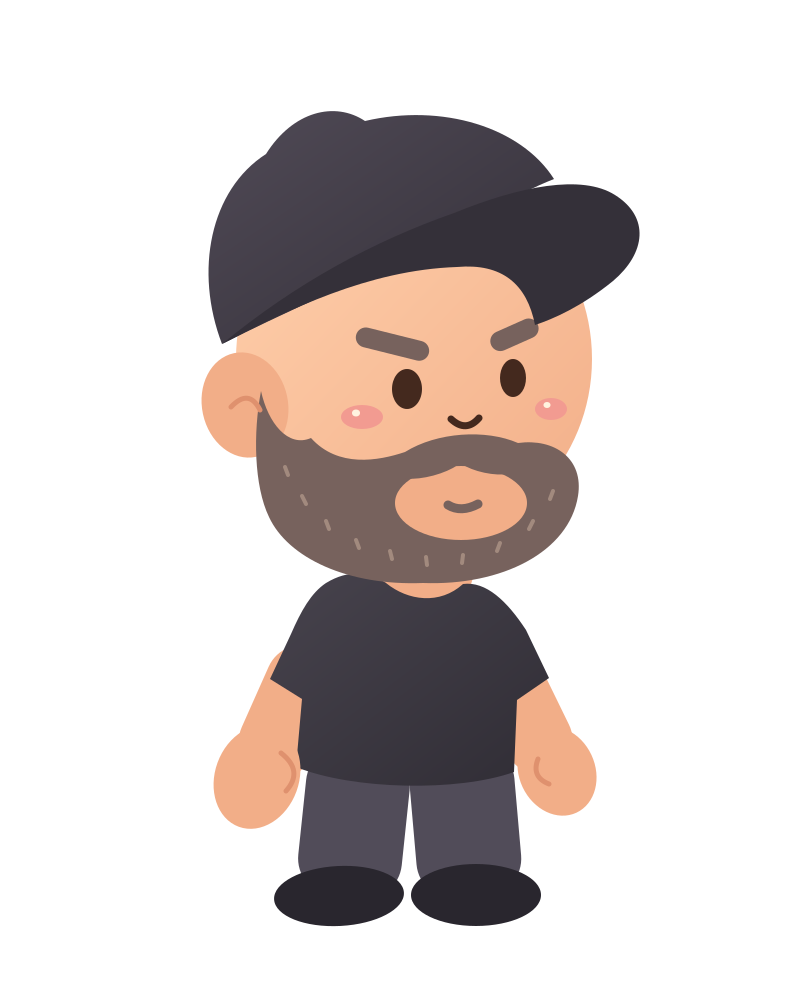
A scalable vector export with editable paths and shapes. Keep your native VectorCraft project too.
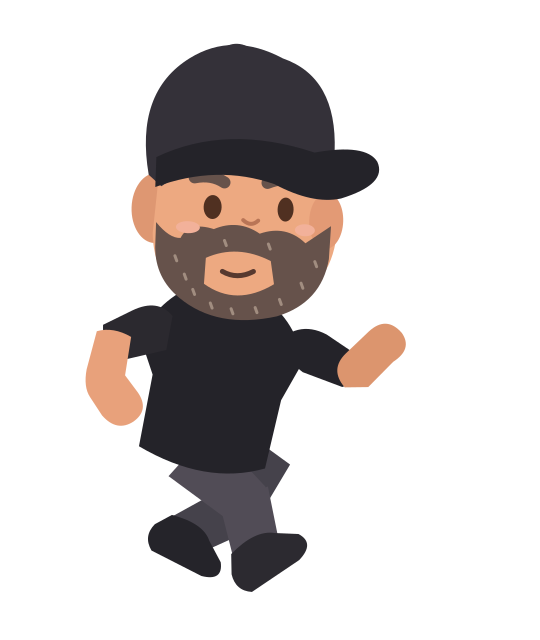
An editable SVG example for the optional platformer action-pose capstone.
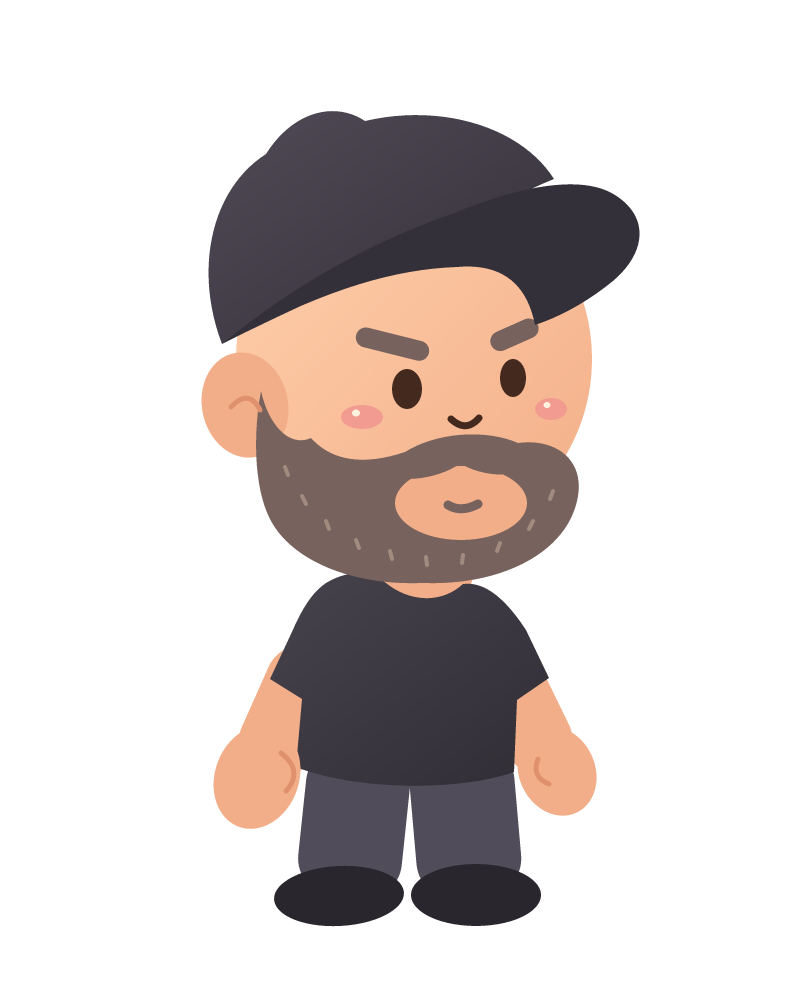
A transparent picture export for sharing or using as a game costume. A PNG keeps pixels, not editable vector paths.
Your goal
Build a readable face with a curved beard, a mouth opening, eyes, eyebrows, moustache and rounded strokes.
Facial features do not need to be complicated. The example uses two eye ovals, two rounded eyebrow shapes, a large beard, a skin-colored opening and a few small curves. Keep spaces between the features so the expression stays easy to read.
Step 1 — Draw the beard shape
- Set Fill to #77625D and Stroke to None. Use Pen to make a closed beard path around the lower cheeks and chin, following the large shape in the picture.
- Let the beard overlap the skin, beginning below the ear and finishing under the chin. Keep its top edge below the eye positions. Name it Beard.
Check: One broad beard shape frames the lower face; it does not cover the eye area.
Step 2 — Leave a mouth opening
- Choose Ellipse. With skin Fill #F2AE88 and no Stroke, draw a wide small oval on top of the beard, near the lower-right center of the face.
- The example opening is about 132 × 74 pixels. It is a new shape in front of the beard, not a hole cut out of the head. Name it Mouth opening.
Check: A skin-colored oval makes space for the mouth inside the beard.
Step 3 — Place two eyes
- Set Fill to dark brown #44291E, with no Stroke. Draw two upright ellipses on the skin above the beard.
- The left eye is about 30 × 40 pixels and the right one a little smaller. Leave a wide gap between them and name them Left eye and Right eye.
Check: Two separate eyes sit below the cap and above the beard.
Step 4 — Add rounded eyebrows
- Use the Rounded Rectangle Tool with beard Fill #77625D and no Stroke. Make a short thick eyebrow above each eye.
- Tilt the left eyebrow slightly down to the right and the right one slightly up to the right, as shown. Keep a skin-colored space above each eye.
Check: The eyebrows are rounded, separate from the eyes and not hidden behind the brim.
Step 5 — Make the little nose curve
- Choose Pen. Set Fill to None and Stroke to #44291E, about 7 pixels wide, with rounded ends.
- Draw a short shallow U-shaped curve between the eyes and the beard. Press Escape to leave the path open.
Check: A small dark curve suggests the nose without making a large dark spot.
Step 6 — Add the moustache
- Switch back to a filled Ellipse, beard color #77625D, with Stroke None. Add two narrow overlapping ovals along the top of the mouth opening.
- Tilt them gently away from the center. Keep the oval opening visible below them.
Check: The moustache joins the beard visually while leaving space for the smile.
Step 7 — Draw a short smile
- Choose Pen, set Fill to None and a beard-colored Stroke about 9 pixels wide with rounded ends.
- Draw a small shallow curve inside the opening, then press Escape. Keep it shorter than the opening.
Check: The mouth is a simple readable smile inside the skin-colored oval.
Step 8 — Inspect the expression
- Choose Selection, click empty space, and look at the whole face. Check the gaps around the eyes, eyebrows, nose and smile.
- Correct one crowded feature by moving or resizing its object. Save an editable copy of this face stage.
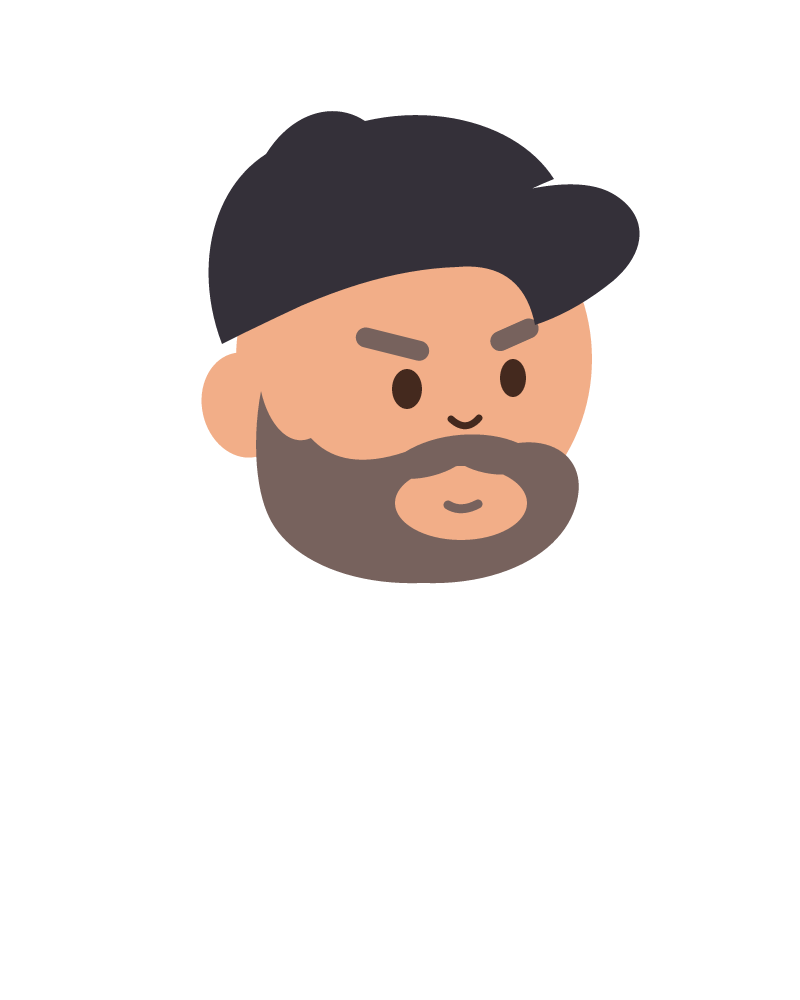
Check: The character has a friendly expression, and every feature is still separately editable.
Ready for the next step?
Return here anytime to review.
Lesson discussion
Ask a question or help a classmate. Mr. S can reply here.
Loading discussion…