
Finish the Arms, Hands and Shoes
- Build Your Character
- 40 minutes
- Beginner vector art · Ages 13–17
Round out the pose using a few reusable shapes.
Downloads
6 files
Start with a blank document in VectorCraft and draw one small part at a time. Keep an editable .vectorcraft save after every lesson. SVG preserves vector shapes for other drawing tools; PNG is a picture export. Comparison projects are optional: save your own work before opening another file. Ask an adult for help installing the editor and organizing downloads.
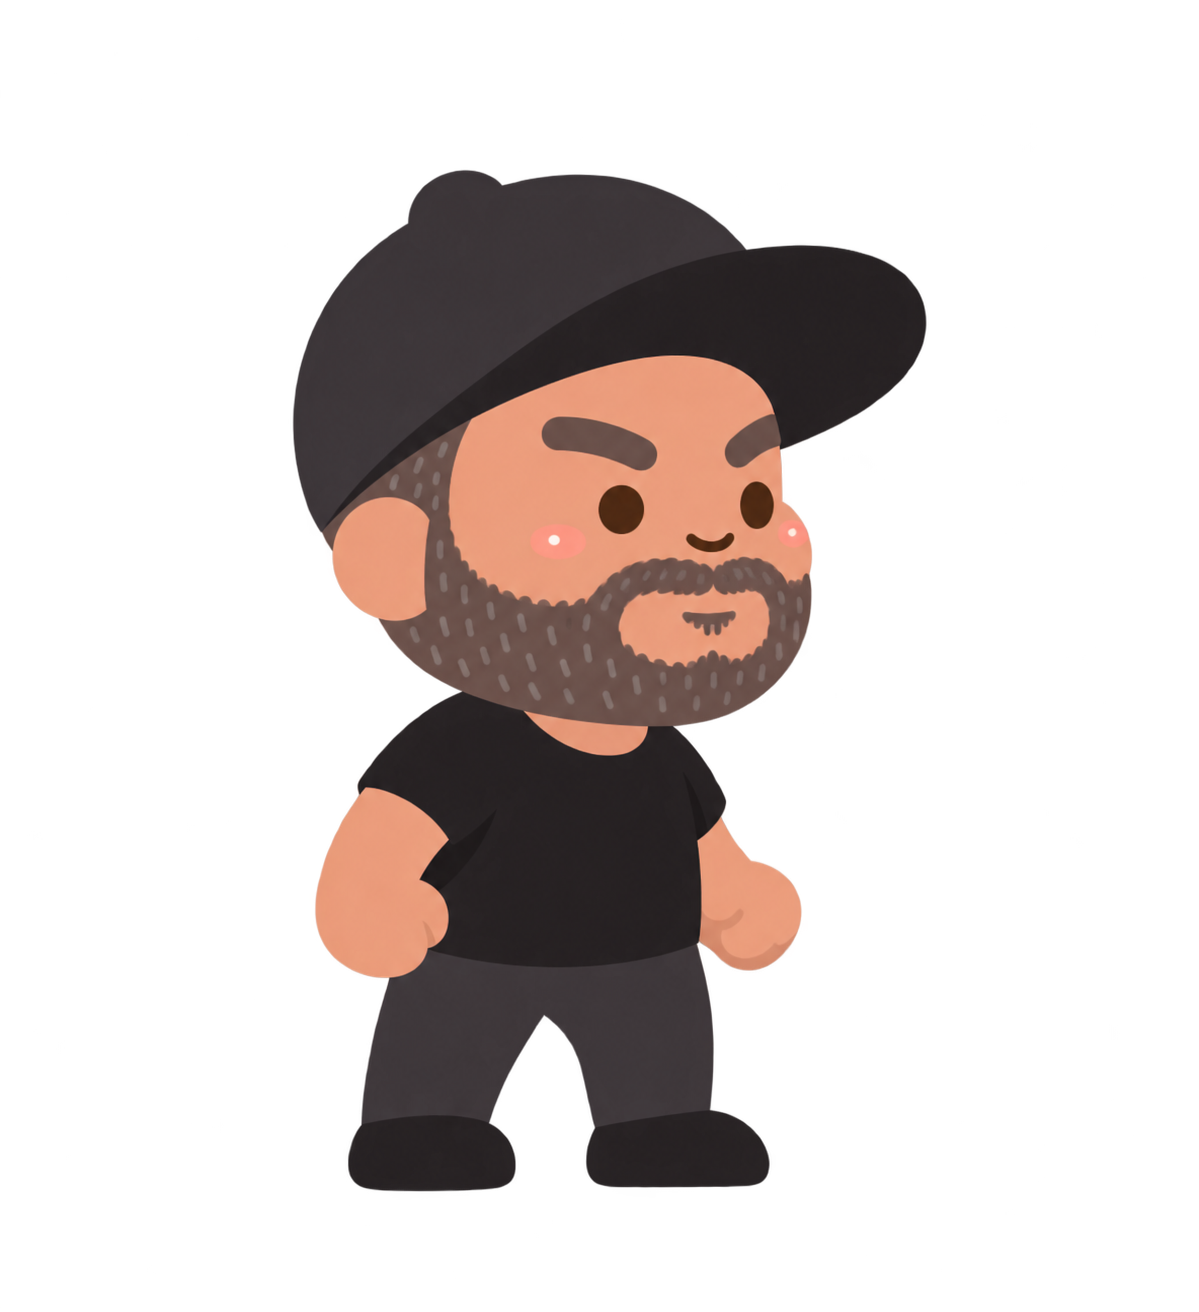
The supplied standing character used as a visual guide. Start with a blank document and build your own simpler vector version from shapes.
The editable character comparison. Keep your own .vectorcraft project before opening another file.
Eight separate end-of-lesson projects for checking your progress. Extract the ZIP and open only the matching comparison.
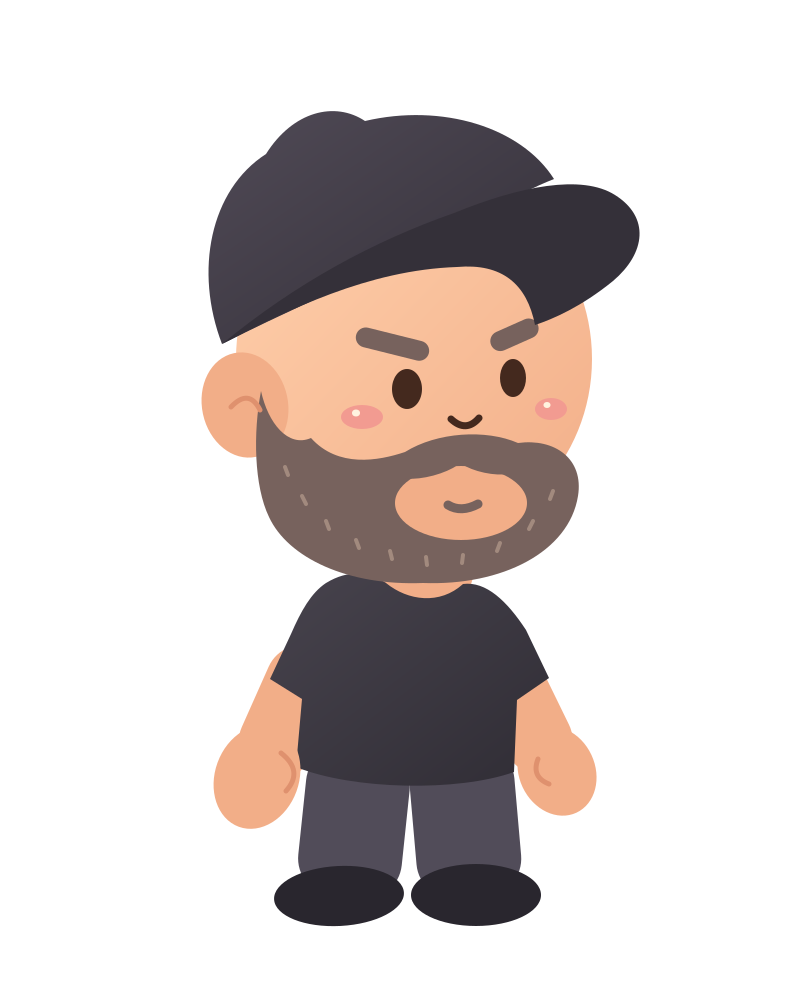
A scalable vector export with editable paths and shapes. Keep your native VectorCraft project too.
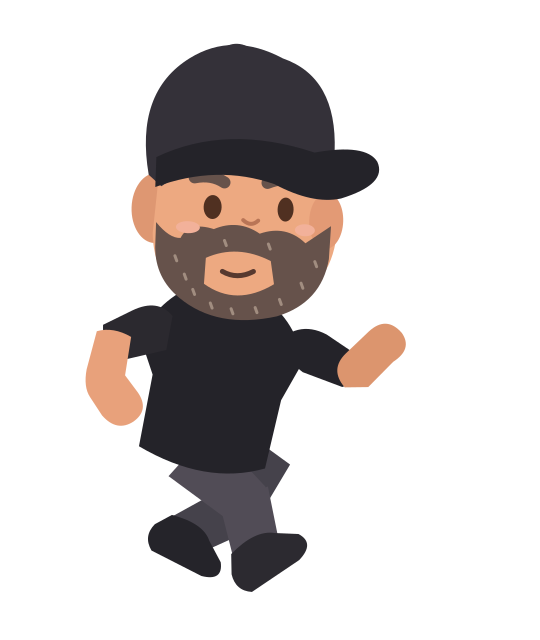
An editable SVG example for the optional platformer action-pose capstone.
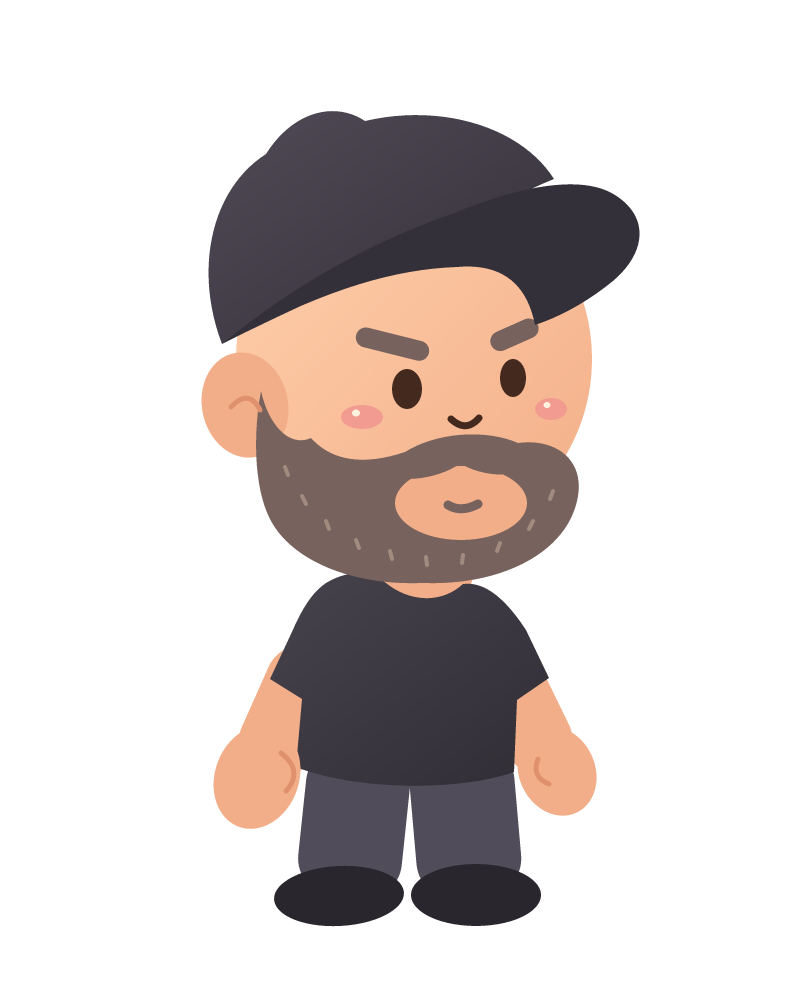
A transparent picture export for sharing or using as a game costume. A PNG keeps pixels, not editable vector paths.
Your goal
Add tilted rounded arms, simple oval hands and two shoes while keeping a readable standing pose.
You can make limbs with simple shapes. A rounded rectangle becomes an arm; an ellipse becomes a hand or shoe. Our example keeps the fingers together in a rounded hand shape so the pose stays easy to draw.
Step 1 — Draw the first arm
- Select Body. Use Rounded Rectangle with skin Fill #F2AE88 and Stroke None. Draw an arm below the left sleeve, about 75 × 140 pixels, with corners rounded to about 37 pixels.
- Use Selection to tilt it outward toward the hand position. Name it Left arm.
Check: The arm starts inside the sleeve and angles toward the lower-left side of the body.
Step 2 — Add the second arm
- Draw a slightly narrower rounded arm below the right sleeve, about 68 × 133 pixels with corners rounded to about 34 pixels. Tilt it outward in the other direction.
- Name it Right arm. In Layers, put both arm objects below Shirt so their tops tuck behind the sleeves.
Check: The arms emerge from the sleeves, and neither covers the front of the shirt.
Step 3 — Round the first hand
- Use Ellipse with the same skin Fill and no Stroke. Draw a rounded hand over the end of the left arm, about 84 × 106 pixels.
- Tilt it gently to match the arm. Name it Left hand.
Check: The hand overlaps the arm without an empty gap at the wrist.
Step 4 — Make the other hand
- Add a slightly smaller oval at the end of the right arm. Name it Right hand.
- Move each hand if needed so both stay clear of the trouser legs. Keep the hands in front of the arm shapes.
Check: Two readable hands sit at the ends of the arms, with open space around the body.
Step 5 — Add two dark shoes
- Choose Ellipse, Fill #29262E and Stroke None. Make one wide, low oval under each leg, about 130 × 60 pixels.
- Name them Left shoe and Right shoe. Keep a small gap between them and align their lower edges so the character can stand on one imaginary floor.
Check: Two separate shoes touch the bottoms of the legs and share a similar ground level.
Step 6 — Check the whole standing pose
- Deselect everything. Name each visible part: cap, face, beard, shirt, arms, hands, trousers and shoes.
- Fix one unwanted gap or overlap. Save an editable copy of the complete standing character.
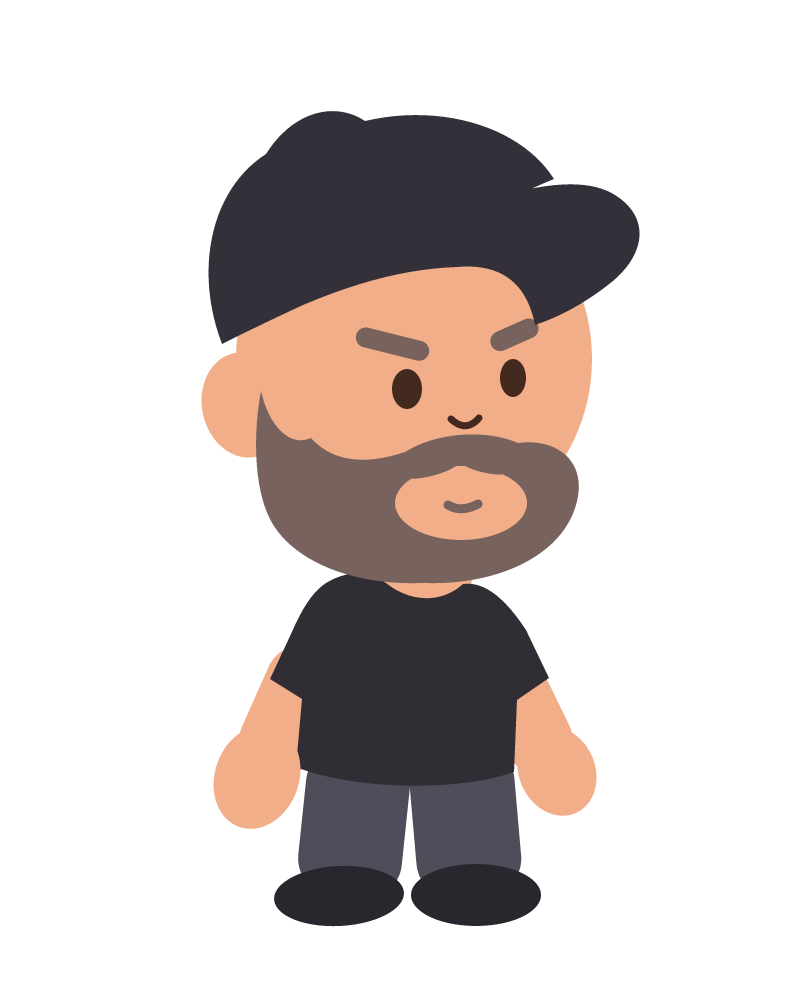
Check: The whole character fits inside the artboard with a border, two hands and two feet.
Ready for the next step?
Return here anytime to review.
Lesson discussion
Ask a question or help a classmate. Mr. S can reply here.
Loading discussion…