
Add Soft Light and Small Details
- Finish and Share Your Art
- 45 minutes
- Beginner vector art · Ages 13–17
Use gentle gradients and a few rounded marks to finish the character.
Downloads
6 files
Start with a blank document in VectorCraft and draw one small part at a time. Keep an editable .vectorcraft save after every lesson. SVG preserves vector shapes for other drawing tools; PNG is a picture export. Comparison projects are optional: save your own work before opening another file. Ask an adult for help installing the editor and organizing downloads.
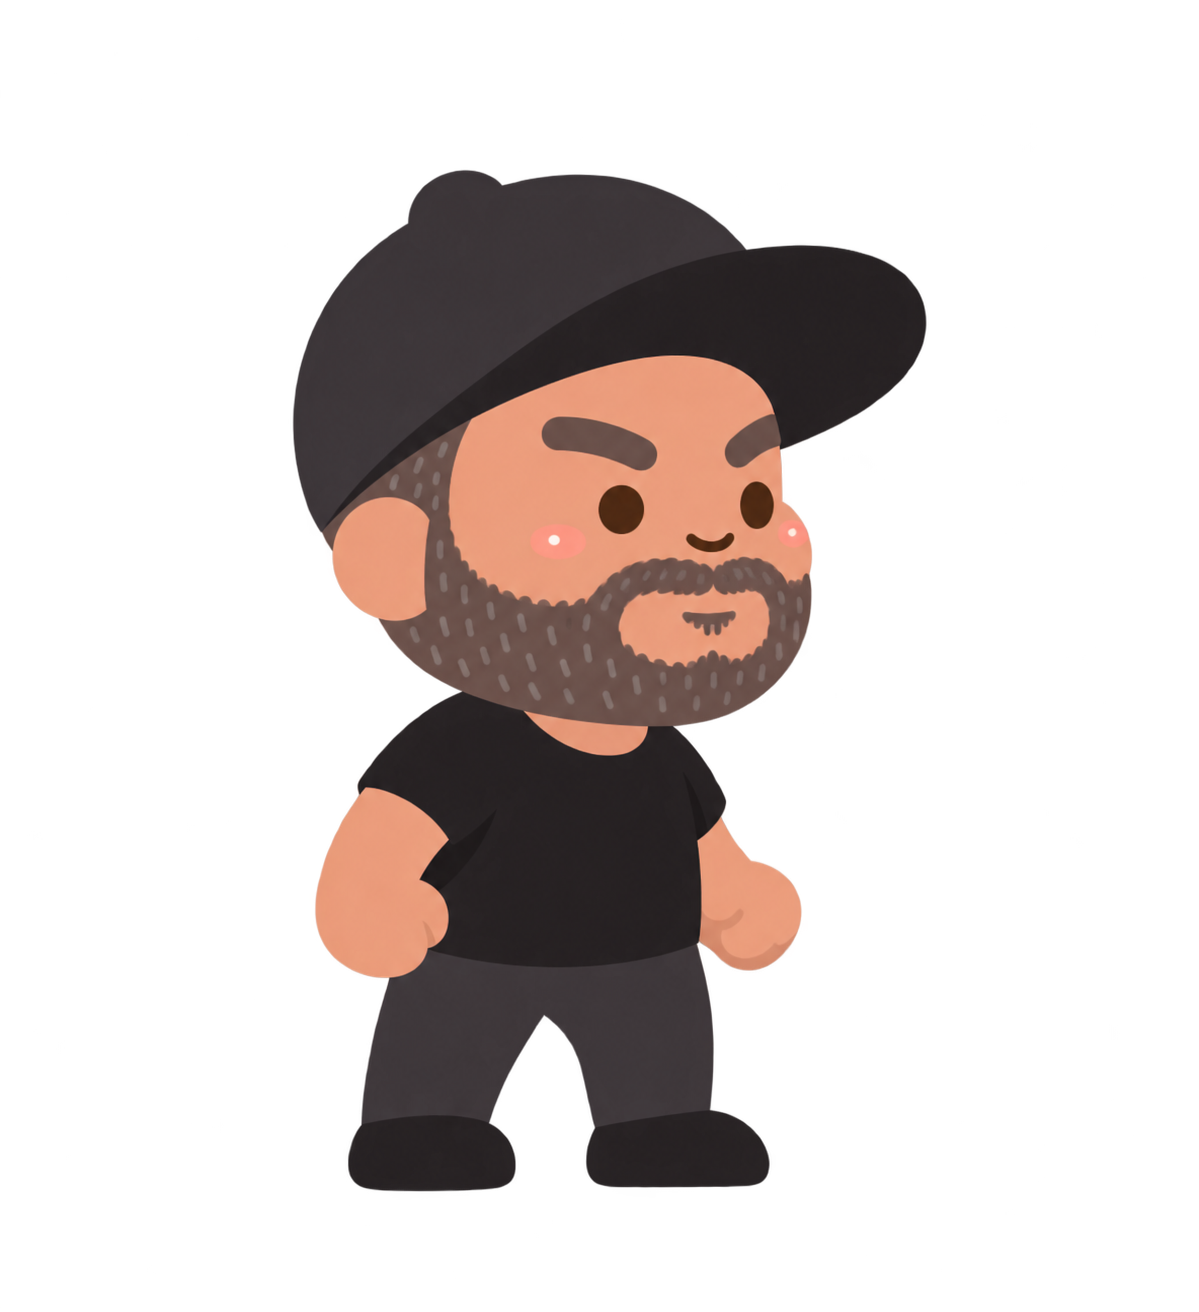
The supplied standing character used as a visual guide. Start with a blank document and build your own simpler vector version from shapes.
The editable character comparison. Keep your own .vectorcraft project before opening another file.
Eight separate end-of-lesson projects for checking your progress. Extract the ZIP and open only the matching comparison.
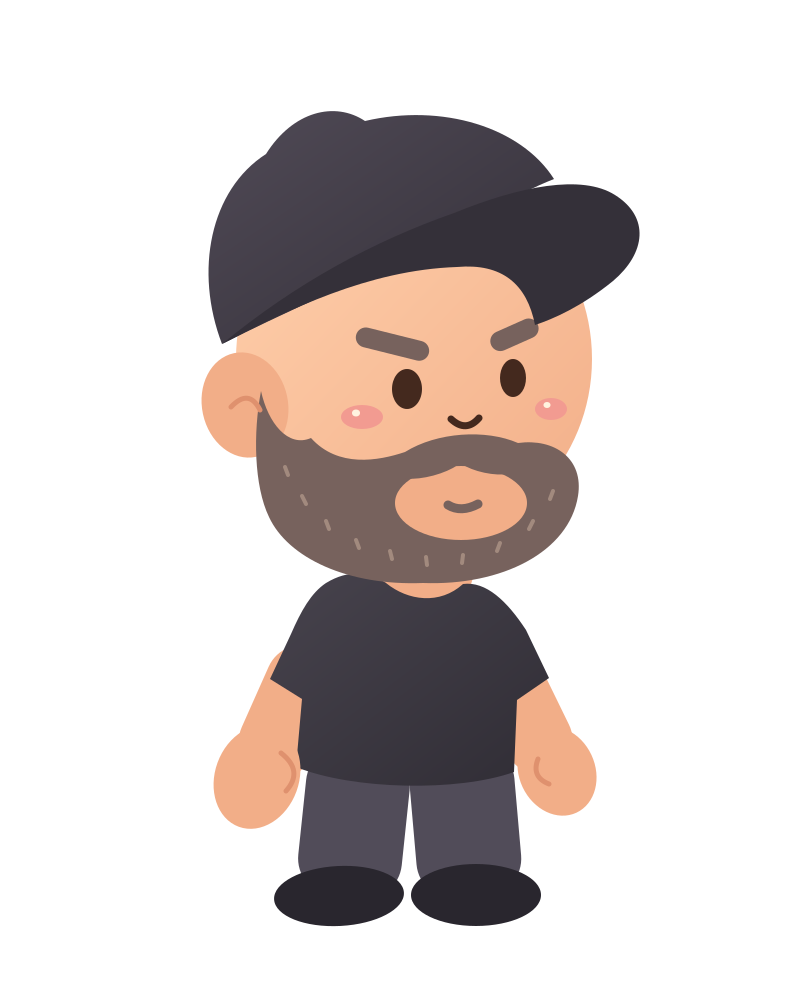
A scalable vector export with editable paths and shapes. Keep your native VectorCraft project too.
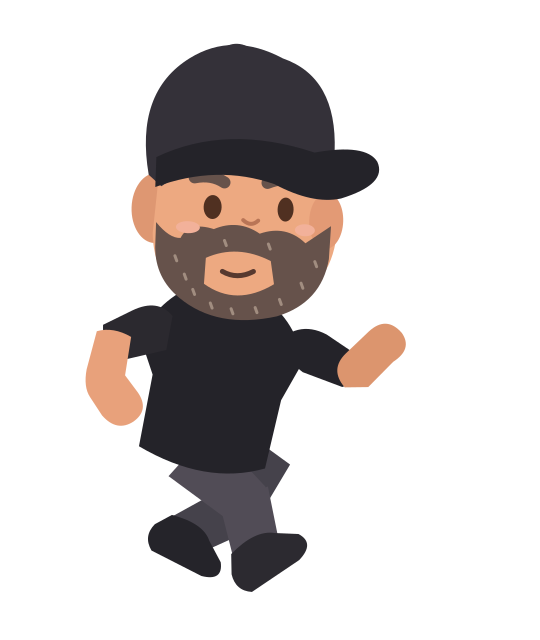
An editable SVG example for the optional platformer action-pose capstone.
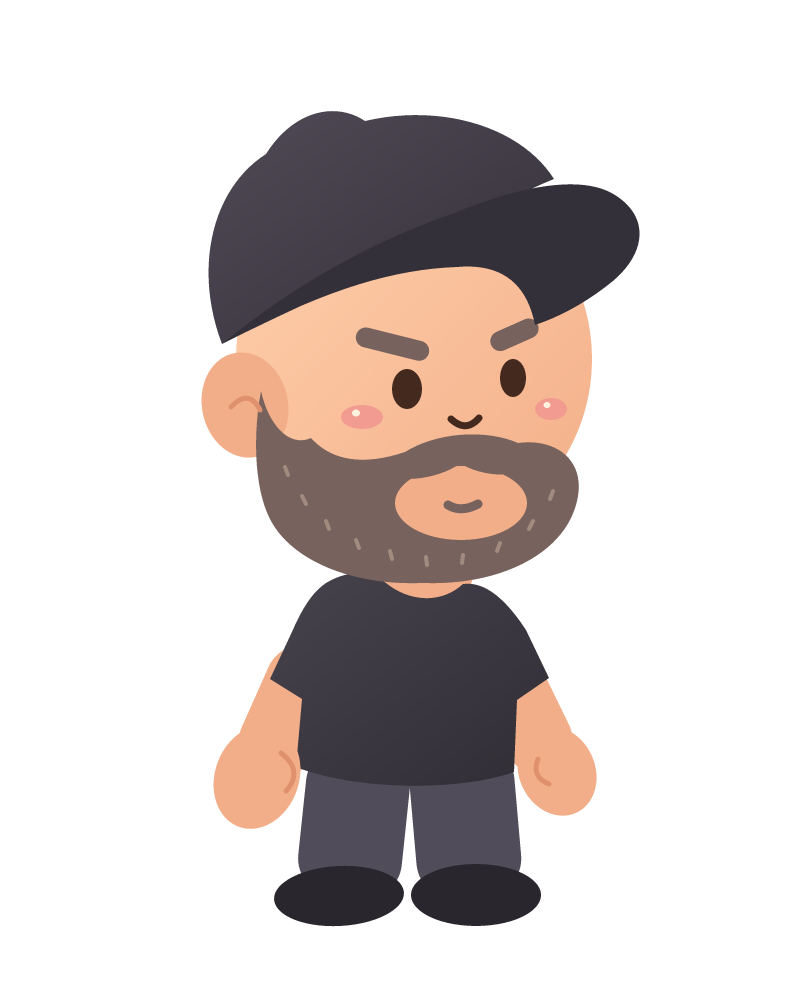
A transparent picture export for sharing or using as a game costume. A PNG keeps pixels, not editable vector paths.
Your goal
Apply simple two-color gradients and add restrained cheek, ear, thumb and beard details.
A gradient changes smoothly from one color to another. It can suggest soft light. Imagine the light coming from the upper left, and keep that direction for the head, cap and shirt.
Finish the big shapes before adding small marks. The clean flat-color character from the previous lesson is already a complete drawing; these details are a chance to practice extra skills.
Step 1 — Light the cap crown
- Select Cap crown. Open the Gradient controls and use a simple Linear gradient with two color stops.
- Set the light stop to #504A56 and the dark stop to #343039. Use the Gradient tool to run from the upper-left toward the lower-right. Keep the brim its existing solid dark color.
Check: The crown has a gentle light-to-dark change, and the brim remains clearly shaped.
Step 2 — Light the face and shirt
- Apply the same two-stop method to Head, from #FFD0AC to #F2AE88.
- Apply a subtle gradient to Shirt, from #47434D to #302D35. Keep the light side toward the upper left for both.
Check: The light direction is consistent, and the facial features still read clearly.
Step 3 — Add the cheeks
- Create a top layer named Details and keep it selected. With Ellipse, cheek Fill #F29B91 and no Stroke, add one small oval on each cheek.
- Add one tiny light oval, #FFF3DF, on each cheek as shown. Keep these marks away from the eyes and beard edge.
Check: The cheeks add a little warmth without taking over the face.
Step 4 — Draw an ear detail
- On Details, use Pen with Fill None and skin-shadow Stroke #DF916E, about 5 pixels wide with rounded ends.
- Draw one short curve inside the visible ear. Leave space between the curve and the outer edge. Press Escape to finish.
Check: A small curve suggests the inner ear without adding a heavy outline.
Step 5 — Suggest the thumbs
- With the same thin shadow stroke, draw one short curved mark inside each hand. Follow the direction of the hand.
- Keep these open curves short. You do not need to draw five separate fingers.
Check: Each hand has one simple thumb mark, and its outside silhouette stays smooth.
Step 6 — Add a little beard texture
- Use Fill None and a lighter beard Stroke #A28A7E, about 4 pixels wide with rounded ends. Add a few short separate strokes along the lower beard.
- Spread the strokes out. Keep them away from the mouth opening and do not fill every empty space. With Selection, Shift-click only these short strokes and choose Object → Group. Name the group Beard texture so the marks stay together.
Check: The beard has a little texture while its large shape remains easy to see.
Step 7 — Check and save the finished art
- Deselect the art and view the whole character. Zoom in to check an edge, then zoom out to see whether the face still reads when small.
- Remove any stray path, fix one crowded detail, and save this finished editable version.
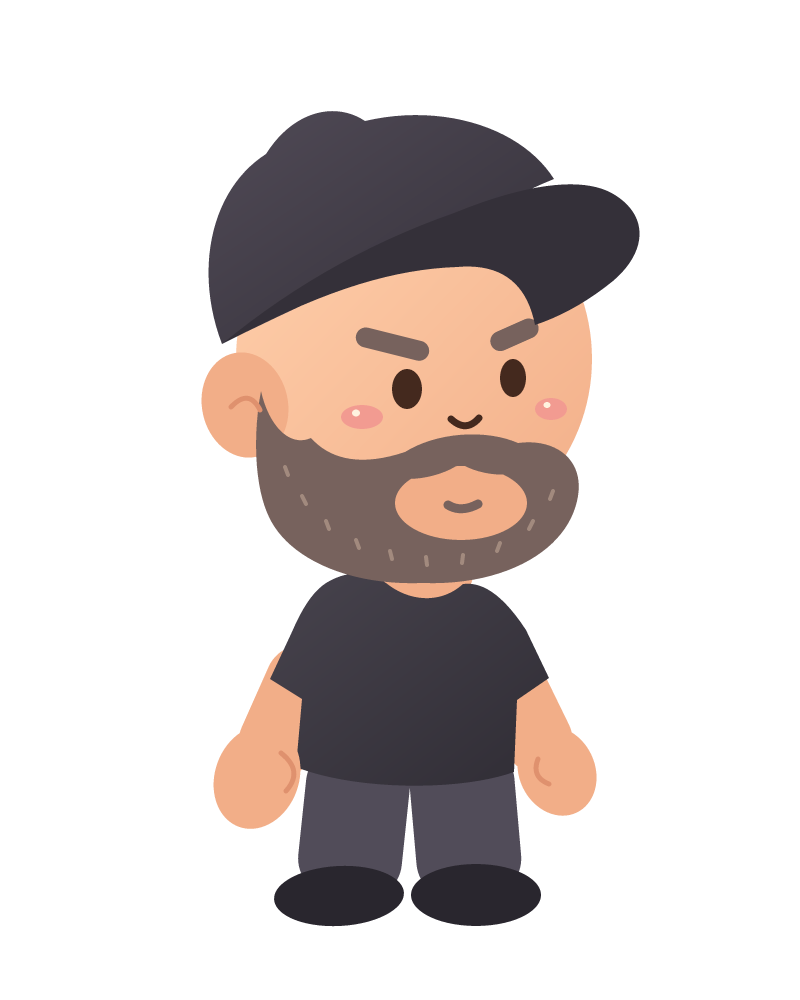
Check: The drawing is clean, the important shapes are clear, and all details remain editable vectors.
Ready for the next step?
Return here anytime to review.
Lesson discussion
Ask a question or help a classmate. Mr. S can reply here.
Loading discussion…