Save, Export and Share Your Vector Character
- Finish and Share Your Art
- 35 minutes
- Beginner vector art · Ages 13–17
Keep your editable artwork and make SVG and PNG copies for different uses.
Downloads
6 files
Start with a blank document in VectorCraft and draw one small part at a time. Keep an editable .vectorcraft save after every lesson. SVG preserves vector shapes for other drawing tools; PNG is a picture export. Comparison projects are optional: save your own work before opening another file. Ask an adult for help installing the editor and organizing downloads.
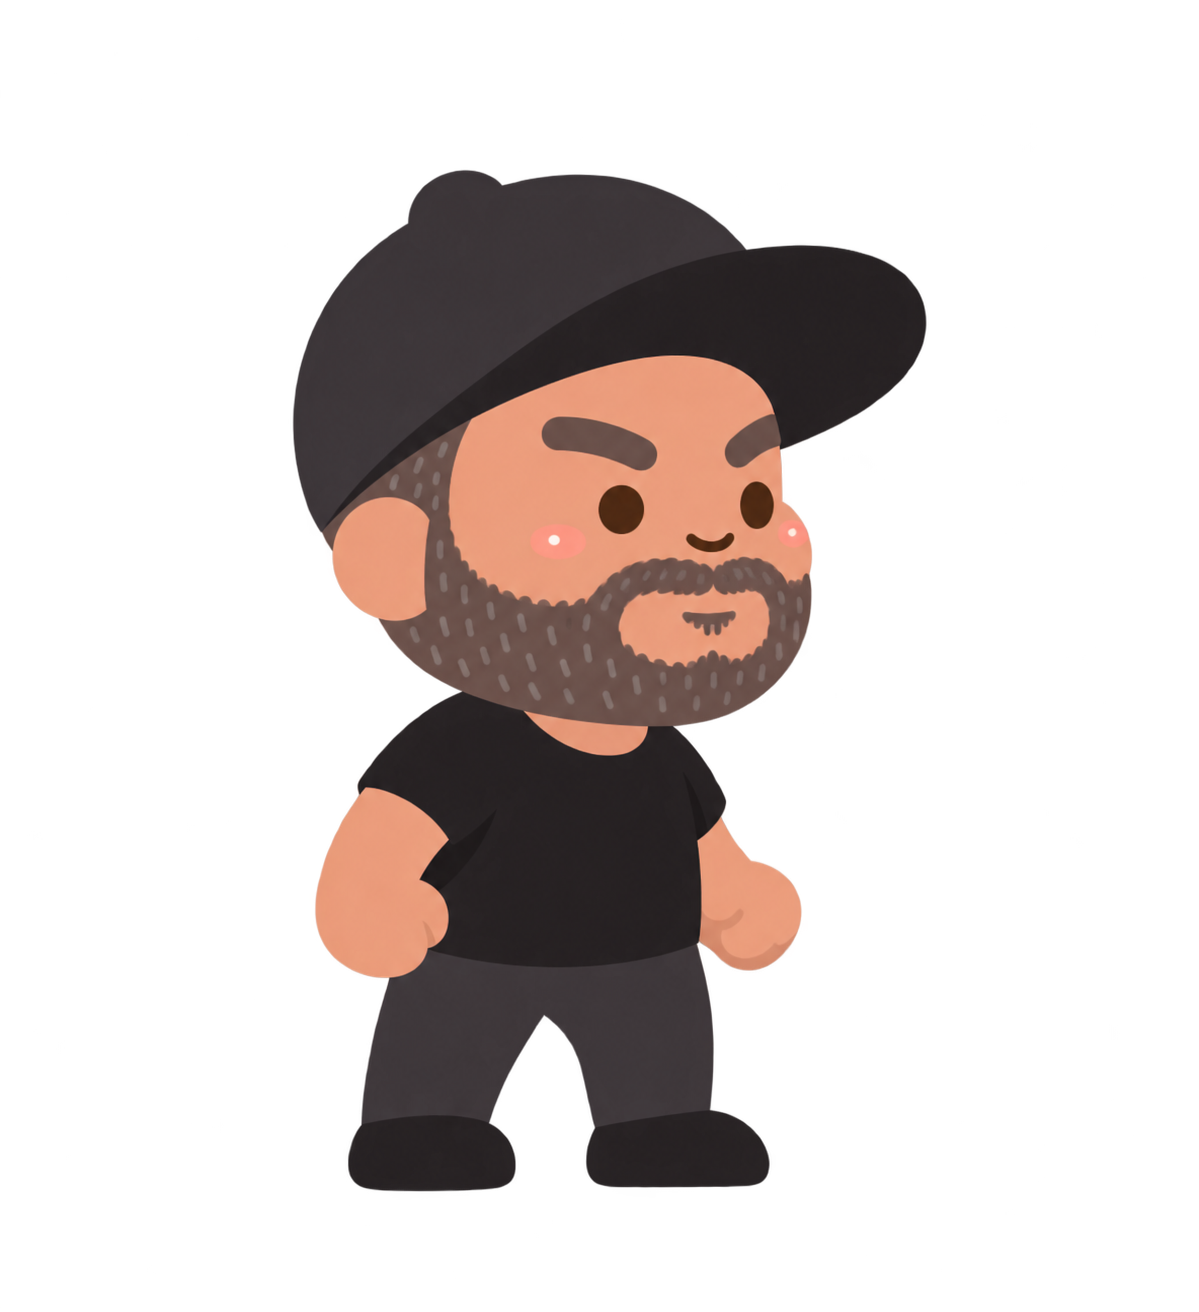
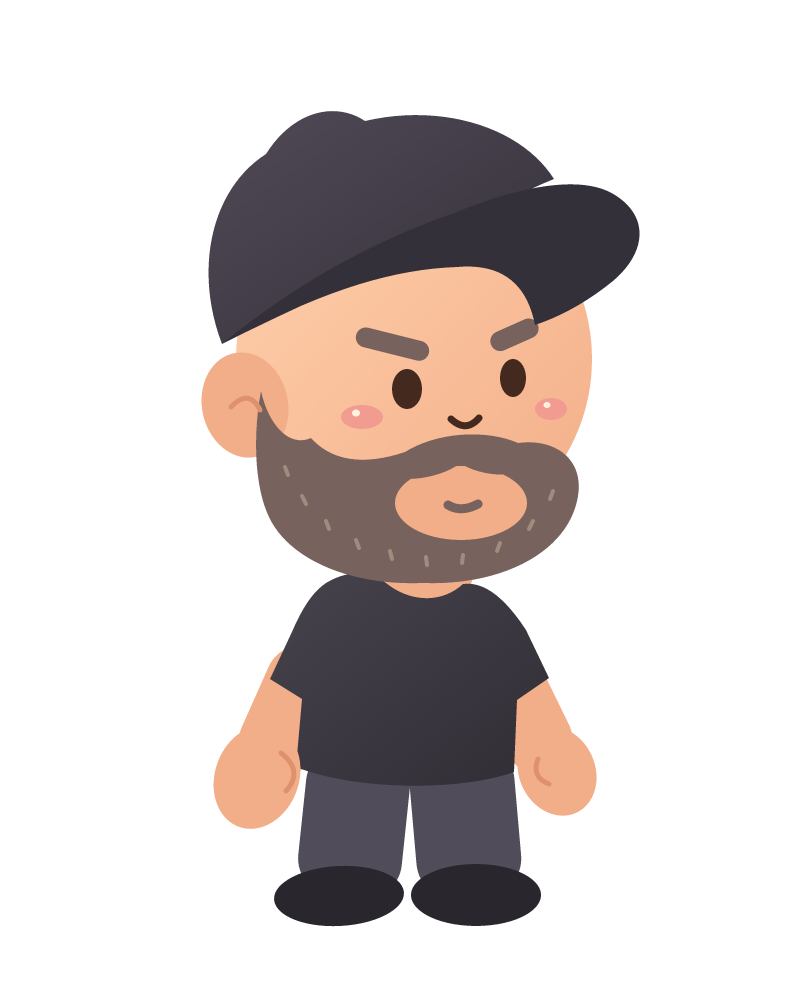
The supplied standing character used as a visual guide. Start with a blank document and build your own simpler vector version from shapes.
The editable character comparison. Keep your own .vectorcraft project before opening another file.
Eight separate end-of-lesson projects for checking your progress. Extract the ZIP and open only the matching comparison.
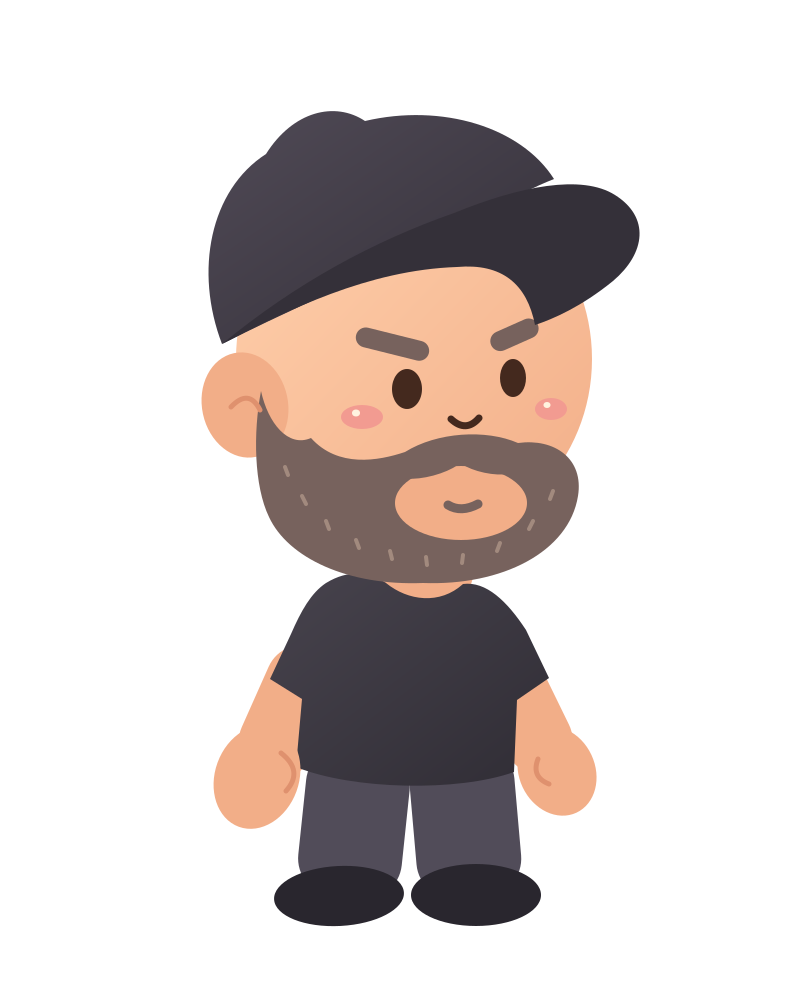
A scalable vector export with editable paths and shapes. Keep your native VectorCraft project too.
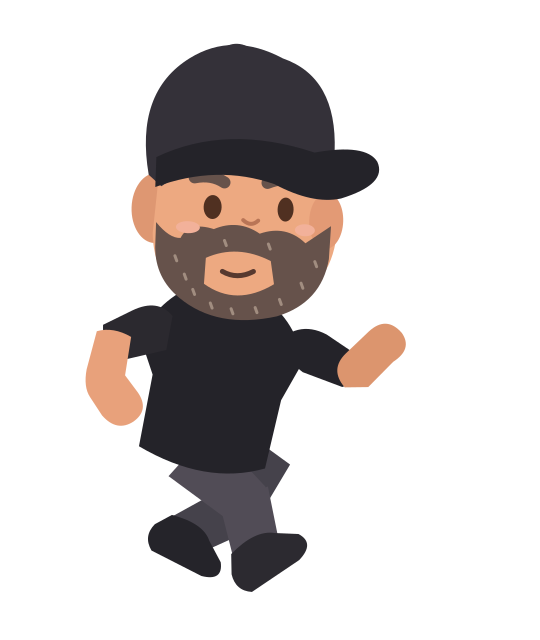
An editable SVG example for the optional platformer action-pose capstone.
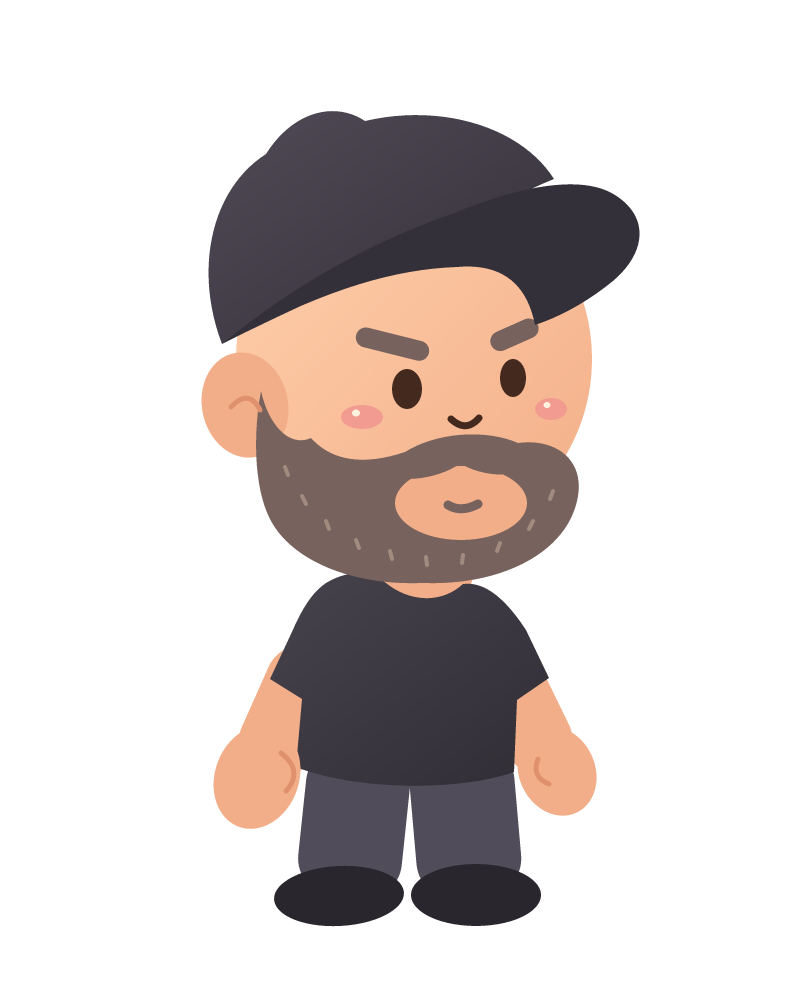
A transparent picture export for sharing or using as a game costume. A PNG keeps pixels, not editable vector paths.
Your goal
Save and reopen a native project, export scalable SVG and transparent PNG, and check that the character is complete.
Save keeps your working document. Export makes another file for a website, game or shared picture. A .vectorcraft project keeps VectorCraft’s editing information; SVG keeps vector shapes; PNG is a pixel picture with a chosen size.
The example character is original course artwork based on the owner-supplied reference. The reference is not public-domain or CC0 artwork. Use it for this class exercise; use your own ideas or properly licensed references when making characters to publish elsewhere.
Step 1 — Save the finished native project
- Save the finished drawing as a new .vectorcraft copy in your course folder. Keep earlier lesson checkpoints as separate files.
- Use a recognizable filename such as Mr-S-Vector-Character-Finished.vectorcraft. Check the file extension, not only its icon.
Check: The finished editable project is saved, and the earlier checkpoints are still available.
Step 2 — Reopen and inspect the saved file
- After saving, use File → Open… to open your finished .vectorcraft file. Keep your own work saved before opening a course comparison.
- Check the Head and cap, Body and Details layers, then select an eye or a shoe. A bounding box should show that it is still an editable object.
Check: The saved file opens with all parts present, and its objects are editable.
Step 3 — Export an SVG copy
- Use the file export controls to make an SVG copy of the finished artboard. Keep the character’s border and avoid adding a background rectangle.
- An SVG is useful when an app supports editable vector artwork. Keep your native project too, because another app may handle layers or effects differently.
Check: An .svg file is saved separately from your .vectorcraft project.
Step 4 — Export a transparent PNG
- Choose PNG in the export controls. Export the whole 800 × 1000 artboard at 1× size and use a Transparent background.
- The white-looking artboard is drawing paper in the editor; do not add a white shape behind the character if you want a transparent picture.
Check: The PNG contains the whole character, without chopped shoes, brim or hands.
Step 5 — Check both exported pictures
- Open the exported SVG in a browser or an app that supports SVG, then open the PNG in an image viewer. Compare them with your finished project.
- Check the cap, beard, eyes, hands and shoes. Look for missing shapes, altered gradients or an unwanted white background. If an export differs, return to the saved project and correct the export settings.
Check: Both pictures show the complete character, and the PNG has the intended transparent background.
Step 6 — Make the character your own
- Save another editable copy before experimenting. Change one feature, such as the cap color or shirt color, and leave the first finished file safe.
- You can use the PNG as a costume in a game, or try the SVG in a vector editor. Explain which shapes you used and show one part you changed yourself.
Check: You have an editable original, a shareable export and a personal variation you can explain.
Teen capstone — Make a platformer action pose (30 minutes)
- Duplicate your editable standing character. Keep the standing file as a reference. In the duplicate, sketch a diagonal line through the head and hips to show the direction of movement.
- Group each upper and lower limb separately. If a leg or arm is one shape, redraw it as two overlapping shapes. Rotate the thigh from the hip and the shin from the knee. Swing the opposite arm forward and keep the shoes, cap, and beard recognizable.
- Export a transparent PNG. In your game or an image viewer, compare the standing and action sprites at about 64 pixels tall. Keep their alignment consistent. If the limbs merge into a single shape, change the pose or adjust the contrast, then export again.
Submit: The editable standing and action documents, a transparent action PNG, and two sentences explaining what you changed after the small-size test.
Ready for the next step?
Return here anytime to review.
Finished project
Mr. S’s vector character
Explore the completed editable vector character with separate shapes for the cap, face, beard, clothes and highlights. Save your own drawing before opening a comparison.
Save your own work before opening the downloaded comparison project in its editor.
Lesson discussion
Ask a question or help a classmate. Mr. S can reply here.
Loading discussion…