
Shape the Cap with Smooth Curves
- Your First Vector Shapes
- 45 minutes
- Beginner vector art · Ages 13–17
Learn a few Pen points and give the character its recognizable cap.
Downloads
6 files
Start with a blank document in VectorCraft and draw one small part at a time. Keep an editable .vectorcraft save after every lesson. SVG preserves vector shapes for other drawing tools; PNG is a picture export. Comparison projects are optional: save your own work before opening another file. Ask an adult for help installing the editor and organizing downloads.
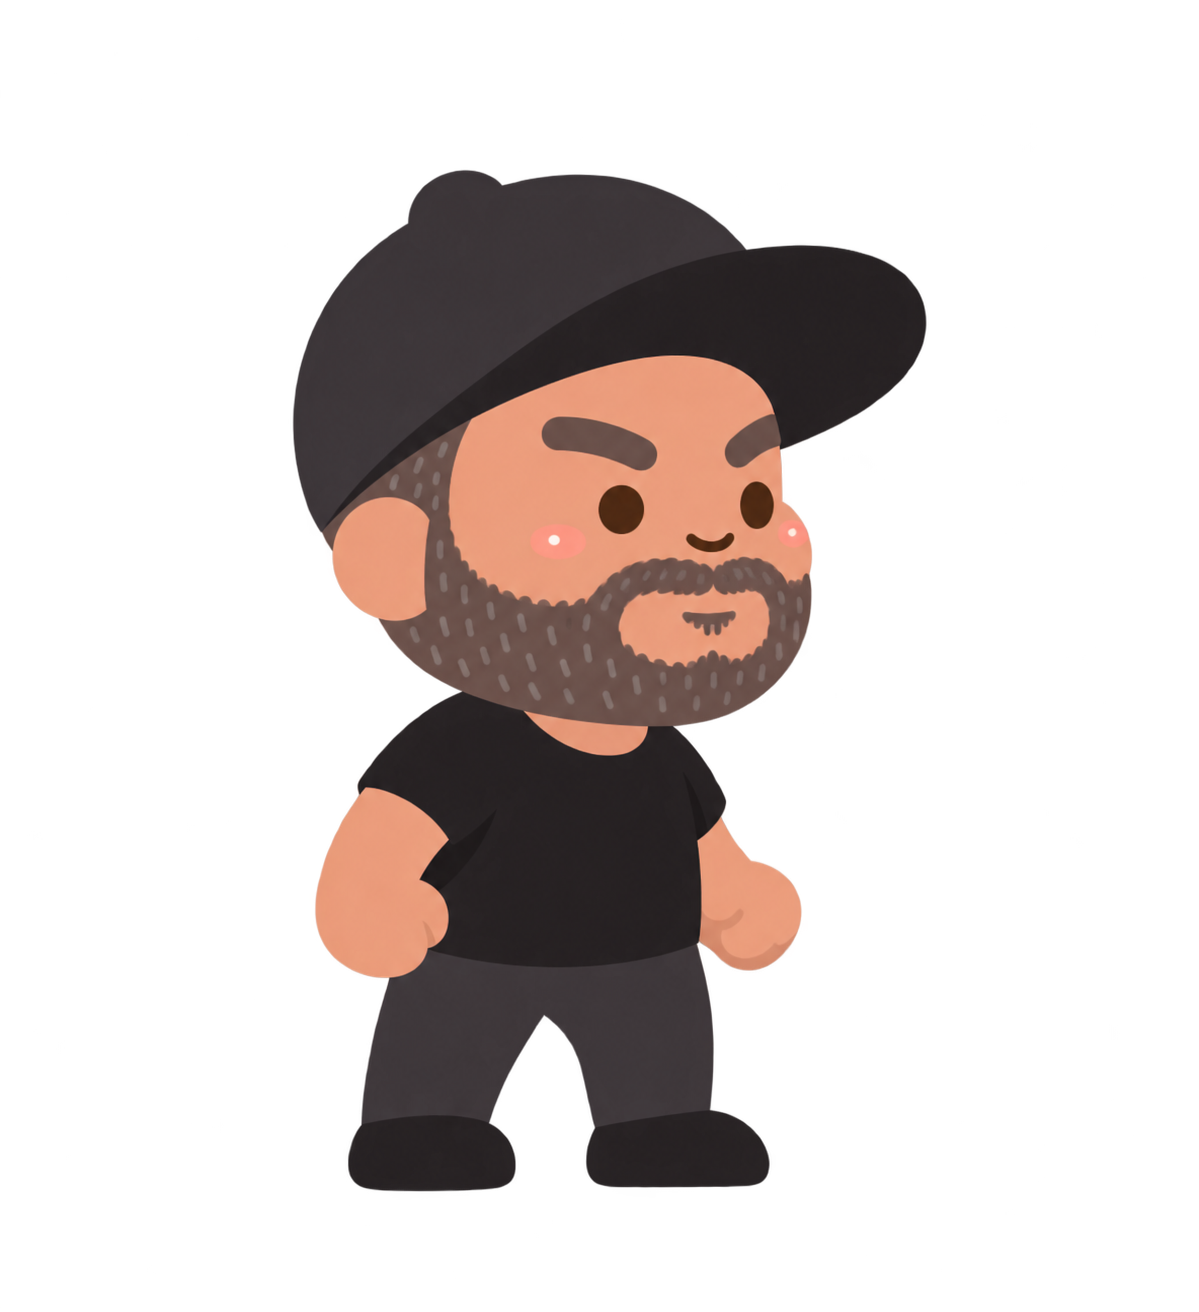
The supplied standing character used as a visual guide. Start with a blank document and build your own simpler vector version from shapes.
The editable character comparison. Keep your own .vectorcraft project before opening another file.
Eight separate end-of-lesson projects for checking your progress. Extract the ZIP and open only the matching comparison.
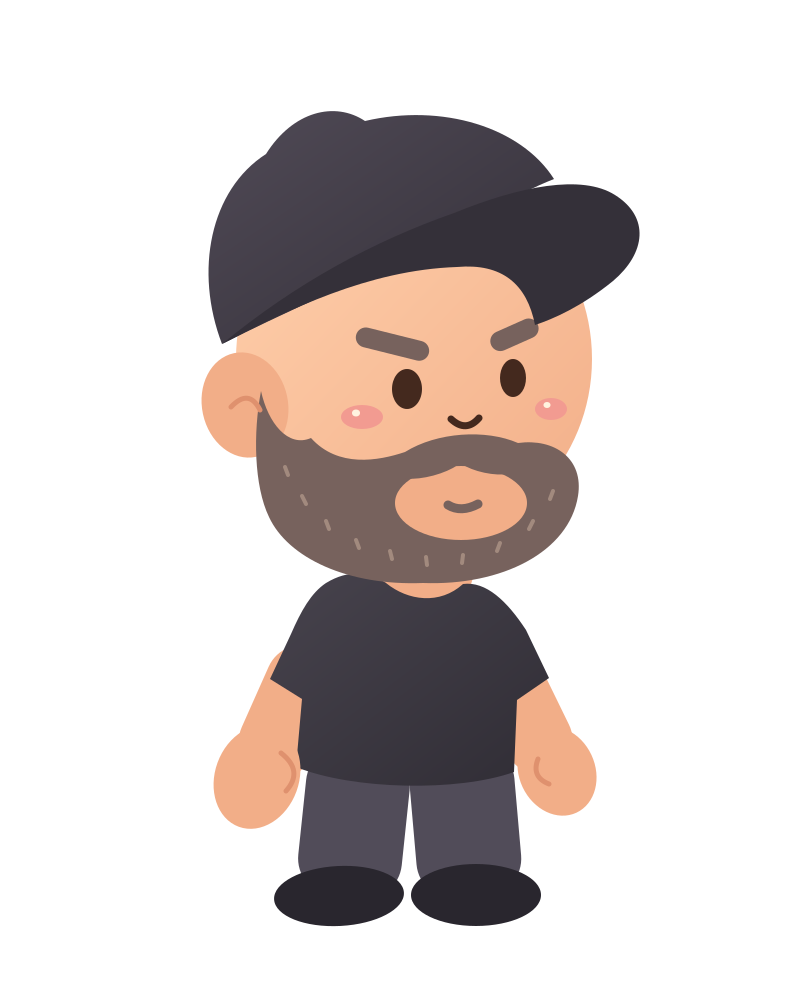
A scalable vector export with editable paths and shapes. Keep your native VectorCraft project too.
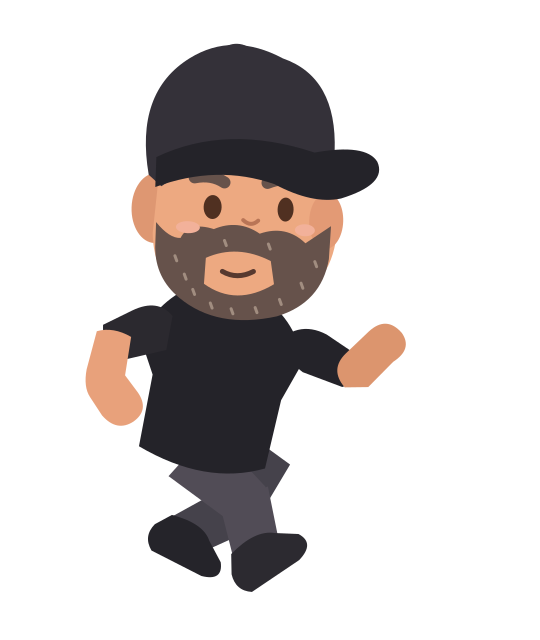
An editable SVG example for the optional platformer action-pose capstone.
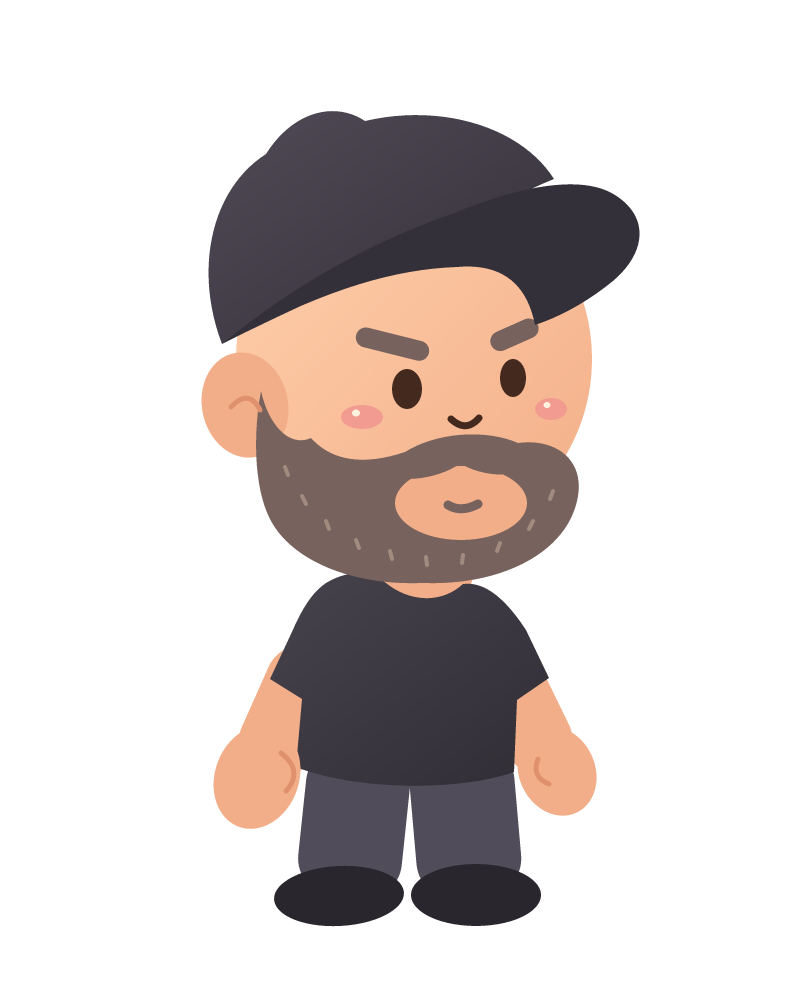
A transparent picture export for sharing or using as a game costume. A PNG keeps pixels, not editable vector paths.
Your goal
Draw two closed curved paths for the crown and brim, then refine their points with Direct Selection.
A path joins points with straight or curved pieces. The Pen places those points. Clicking makes a corner; dragging at a point pulls out handles that bend the path. A few carefully placed points are easier to edit than dozens of tiny ones.
The cap has two pieces: the tall crown and the wide brim. We will use the same dark fill for both. Follow the numbered curve picture slowly; a slightly different curve is fine.
Step 1 — Try a curved path
- Select Pen (P). In empty space beside your character, click once, then click and drag at a second point to see a curve. Press Escape to finish that practice path.
- Undo the practice path before continuing. Use Selection for whole objects and Direct Selection (A) for individual points and handles.
Check: You can recognize a point and the handles that bend its curve, and no practice mark remains.
Step 2 — Set the cap fill
- Choose Pen. Set Fill to #343039 and Stroke to None.
- Keep Head and cap as the current layer. The cap will be above the skin shape.
Check: The cap will be dark without an extra outline.
Step 3 — Draw the crown
- Start at the lower-left cap edge, near the top of the ear. Follow the picture around the rounded left side, the top bump, and the upper-right side. Click and drag at the rounded points to bend the sides.
- Return along the diagonal lower edge and click the first point to close the shape. Keep the crown mostly above the face.
Check: The crown is one filled closed path. It has a rounded top and a sloping lower edge.
Step 4 — Draw the brim
- With Pen, start at the same lower-left edge. Follow the pictured curve up and right, around the projecting tip, then back toward the top of the face.
- Curve the inner edge above the eyebrows and return to the start. Close the path. The brim should reach farther right than the head.
Check: The two filled paths read as one cap, and the brim sticks out to the right.
Step 5 — Smooth one difficult edge
- Choose Direct Selection (A) and click a point on the crown or brim. Move its handle a little to improve one curve.
- Use only small changes. If you make a sharp spike, Undo and shorten the handle. Keep room below the brim for eyebrows.
Check: The cap has no accidental sharp spike or open gap between its two main pieces.
Step 6 — Name and check the cap
- Name the paths Cap crown and Cap brim. Click empty space to remove the selection outlines and inspect the silhouette.
- Save this stage. Your head already looks like a cap-wearing character before you add a face.
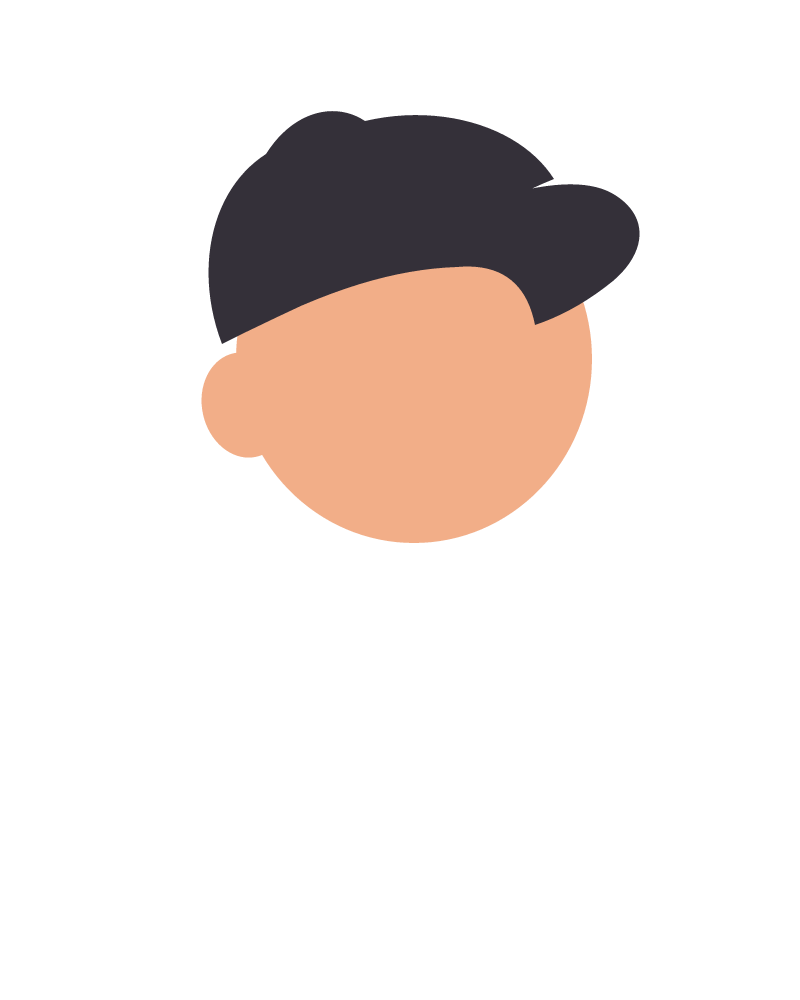
Check: You can find the crown and brim separately in Layers, and the cap remains inside the artboard border.
Ready for the next step?
Return here anytime to review.
Lesson discussion
Ask a question or help a classmate. Mr. S can reply here.
Loading discussion…