
Build the Head from Simple Shapes
- Your First Vector Shapes
- 35 minutes
- Beginner vector art · Ages 13–17
Study the reference, choose colors, and place the head and ear.
Downloads
6 files
Start with a blank document in VectorCraft and draw one small part at a time. Keep an editable .vectorcraft save after every lesson. SVG preserves vector shapes for other drawing tools; PNG is a picture export. Comparison projects are optional: save your own work before opening another file. Ask an adult for help installing the editor and organizing downloads.
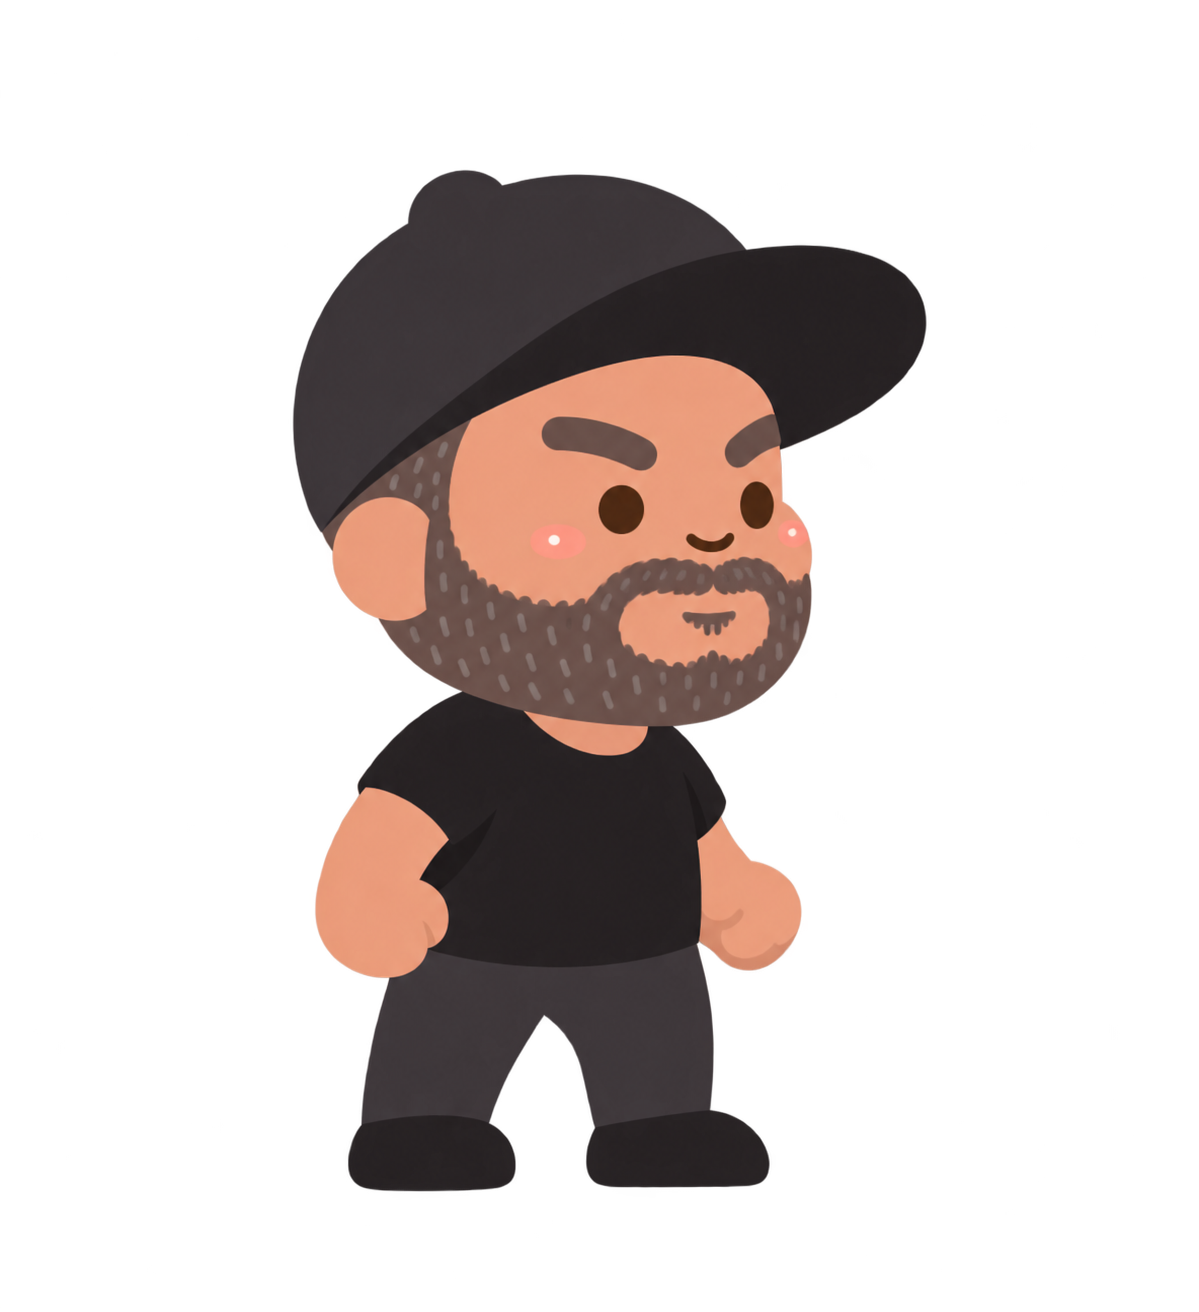
The supplied standing character used as a visual guide. Start with a blank document and build your own simpler vector version from shapes.
The editable character comparison. Keep your own .vectorcraft project before opening another file.
Eight separate end-of-lesson projects for checking your progress. Extract the ZIP and open only the matching comparison.
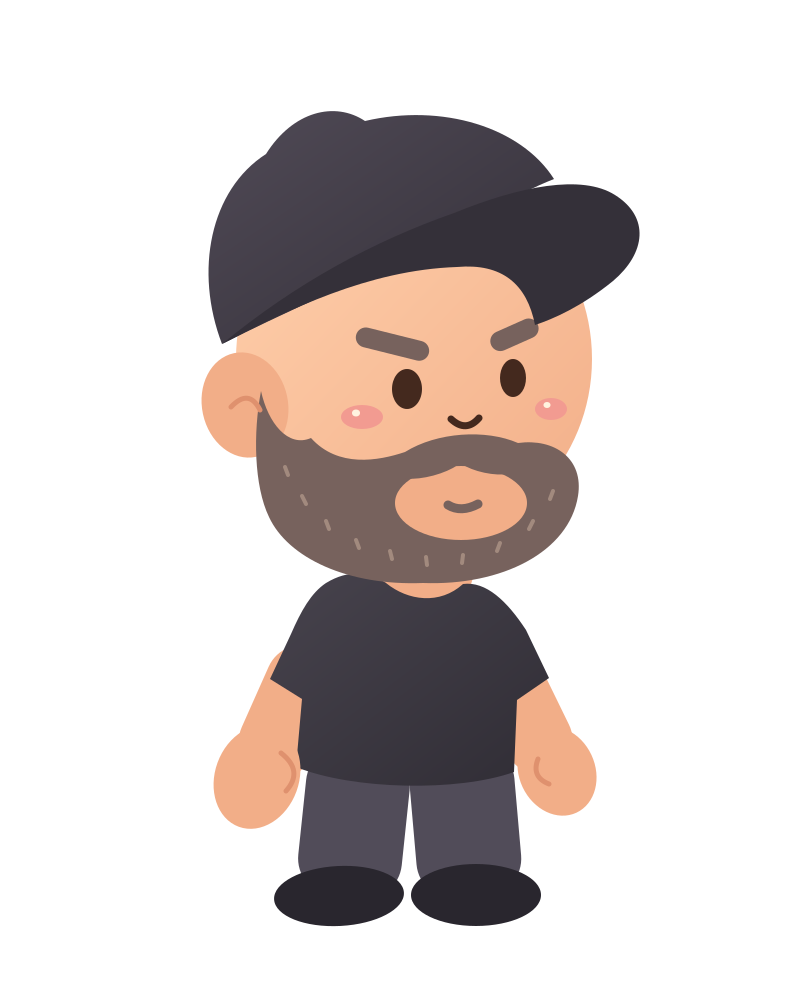
A scalable vector export with editable paths and shapes. Keep your native VectorCraft project too.
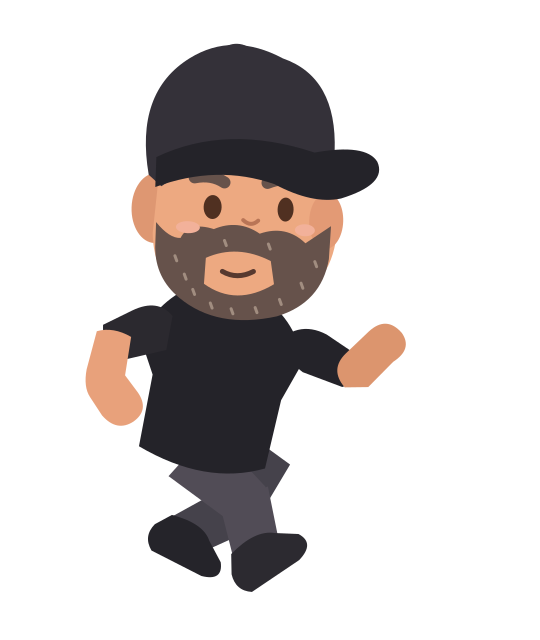
An editable SVG example for the optional platformer action-pose capstone.
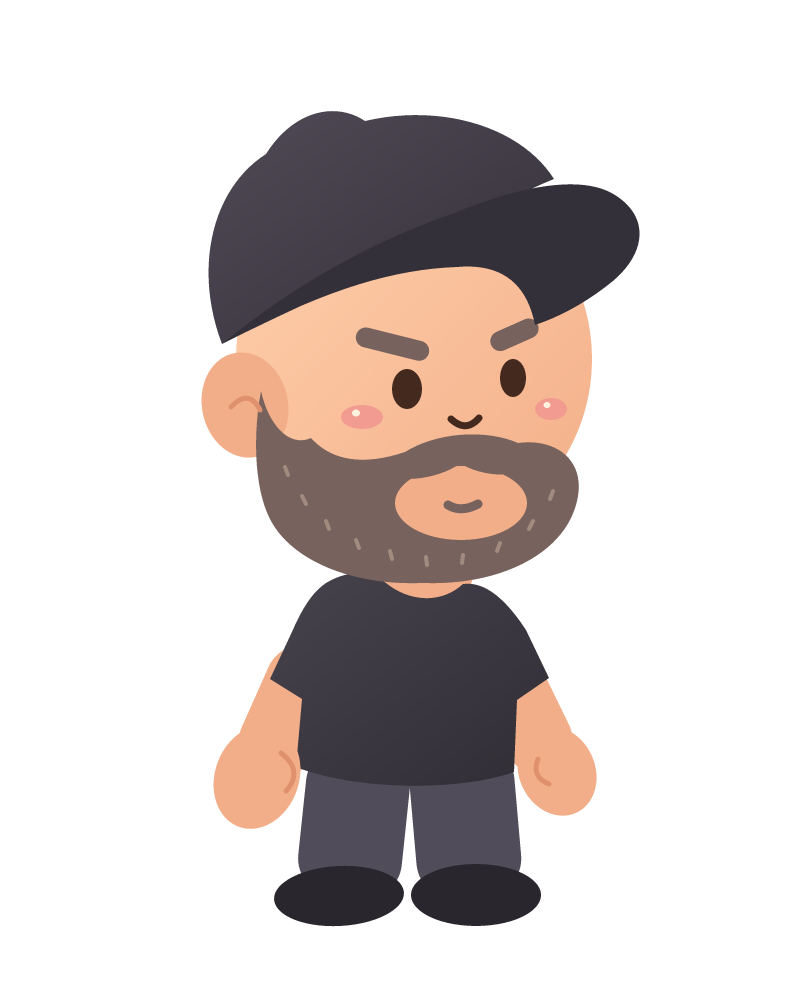
A transparent picture export for sharing or using as a game costume. A PNG keeps pixels, not editable vector paths.
Your goal
Use filled ellipses, selection and stacking to make the character’s large head and visible ear.
Look for the large shapes before tiny details. Mr. S has a big rounded head, one visible ear, a cap that reaches to the right, and a smaller body. We will draw those features ourselves. Keep the reference picture beside the editor rather than tracing or placing it over your artboard.
This course’s positions are guides. Make a head that leaves space above for the cap and below for the body. The whole character should fit with a clear border around it.
Step 1 — Plan the space
- Look at the reference and name three features you want to keep. Point to where the cap, face and feet will go on your empty artboard.
- Keep the head in the upper half. Leave the bottom third for the body and shoes.
Check: You have a plan for the whole character, not only a face that fills the page.
Step 2 — Choose the skin color
- Select the Head and cap layer and the Ellipse Tool. Set Fill to skin color #F2AE88 and Stroke to None.
- If you need an exact color, use the color panel’s hex field. A hex code is a short label for a color. Later steps reuse this same color.
Check: The next ellipse will have a peach fill and no outline.
Step 3 — Draw the large head oval
- Drag a broad upright oval in the upper-middle part of the artboard. The example’s head is about 356 pixels wide and 368 pixels high.
- Place it roughly from x 236 to 592 and y 175 to 543. You do not need to match every number to make a good character.
Check: The head is large, with space above it for the cap and plenty of room below.
Step 4 — Adjust the head with Selection
- Choose Selection (V), select the head, and move or resize it until the proportions match the picture.
- Pull a bounding-box handle to change the shape. Use Undo if it becomes too narrow. Name the object Head in Layers.
Check: The head is one editable ellipse named Head, not many small pieces.
Step 5 — Add the visible ear
- Choose Ellipse again and draw a smaller skin-colored oval at the left side of the head, about 86 × 106 pixels.
- Let it overlap the head around the cheek height. Use Selection to tilt it slightly toward the head if you want to match the example.
Check: One ear overlaps the left edge, and there is still open space for the face.
Step 6 — Check the two objects
- Name the small oval Ear. Use the Layers list to select Head, then Ear, and see which bounding box appears.
- Keep the ear in front of the head as shown. Save an editable copy of this head-and-ear stage.
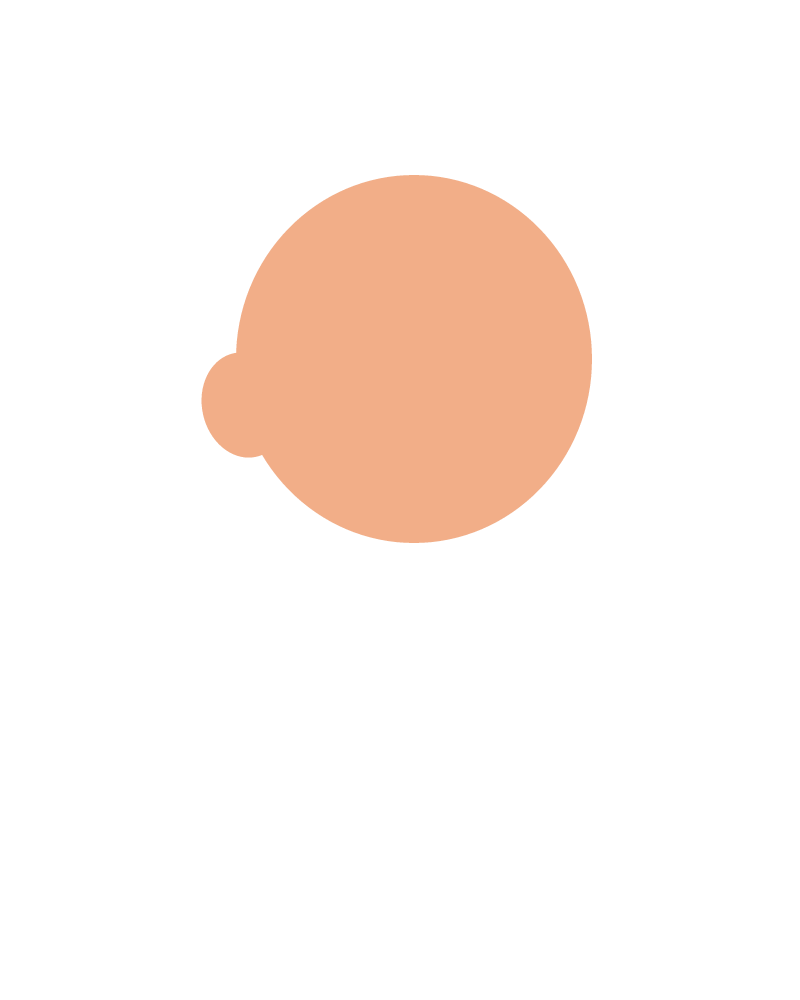
Check: The face and ear have the same skin color, and both remain separate editable shapes.
Ready for the next step?
Return here anytime to review.
Lesson discussion
Ask a question or help a classmate. Mr. S can reply here.
Loading discussion…