
Meet VectorCraft and Save Your Artboard
- Your First Vector Shapes
- 35 minutes
- Beginner vector art · Ages 13–17
Learn the tools, try a shape, and save a blank portrait document.
Downloads
6 files
Start with a blank document in VectorCraft and draw one small part at a time. Keep an editable .vectorcraft save after every lesson. SVG preserves vector shapes for other drawing tools; PNG is a picture export. Comparison projects are optional: save your own work before opening another file. Ask an adult for help installing the editor and organizing downloads.
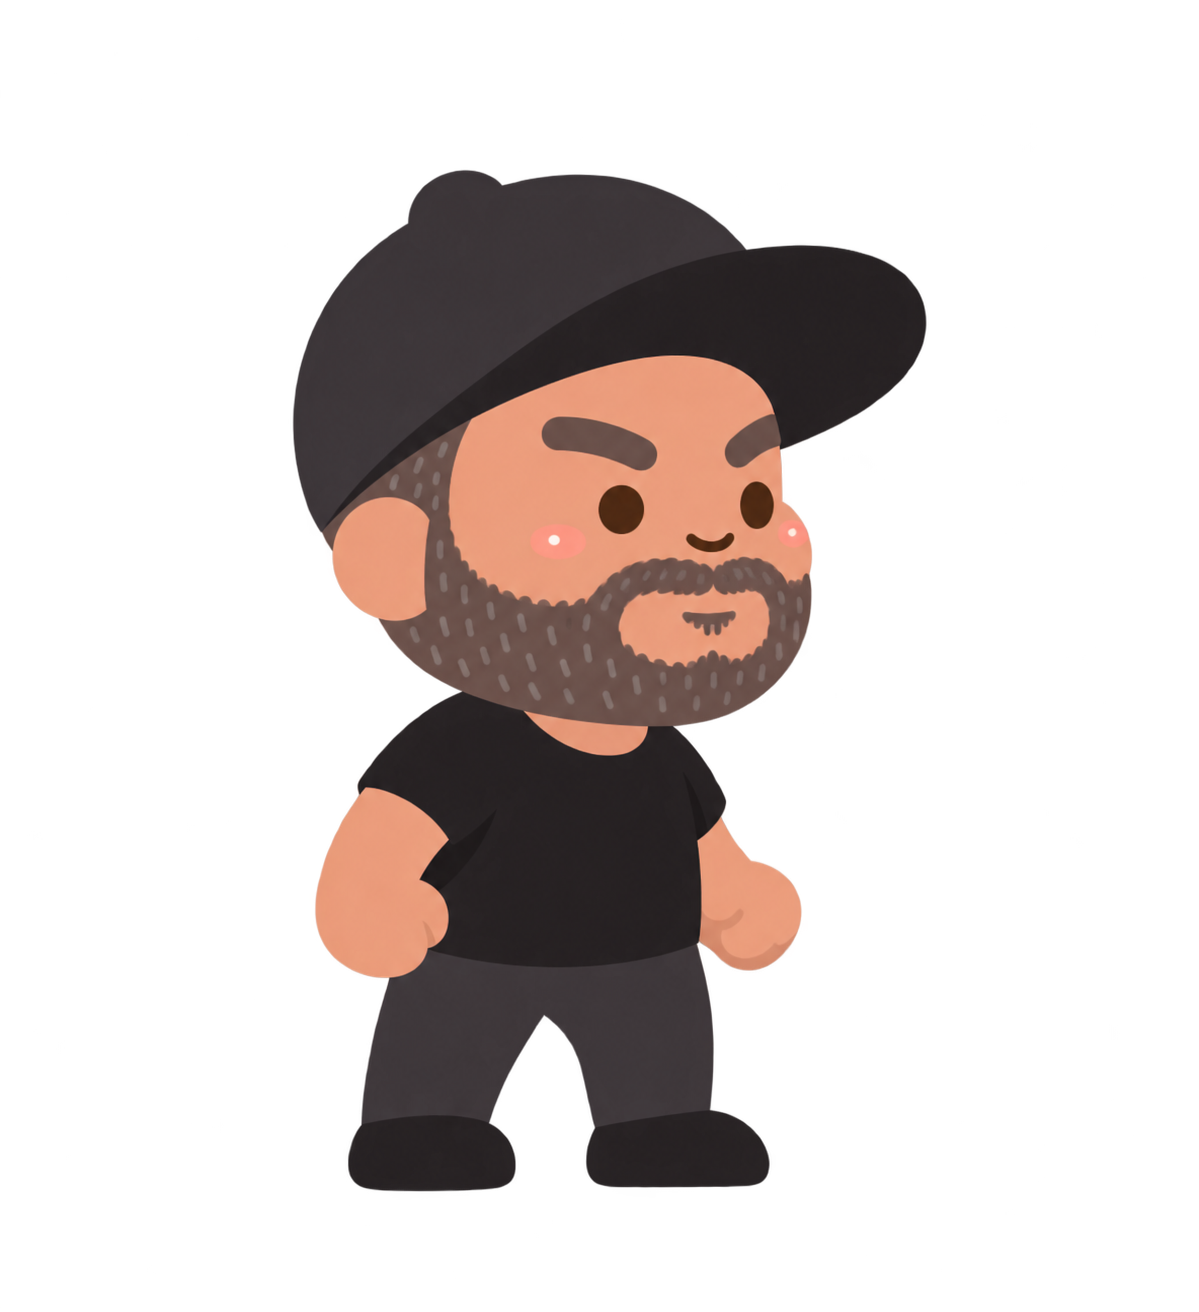
The supplied standing character used as a visual guide. Start with a blank document and build your own simpler vector version from shapes.
The editable character comparison. Keep your own .vectorcraft project before opening another file.
Eight separate end-of-lesson projects for checking your progress. Extract the ZIP and open only the matching comparison.
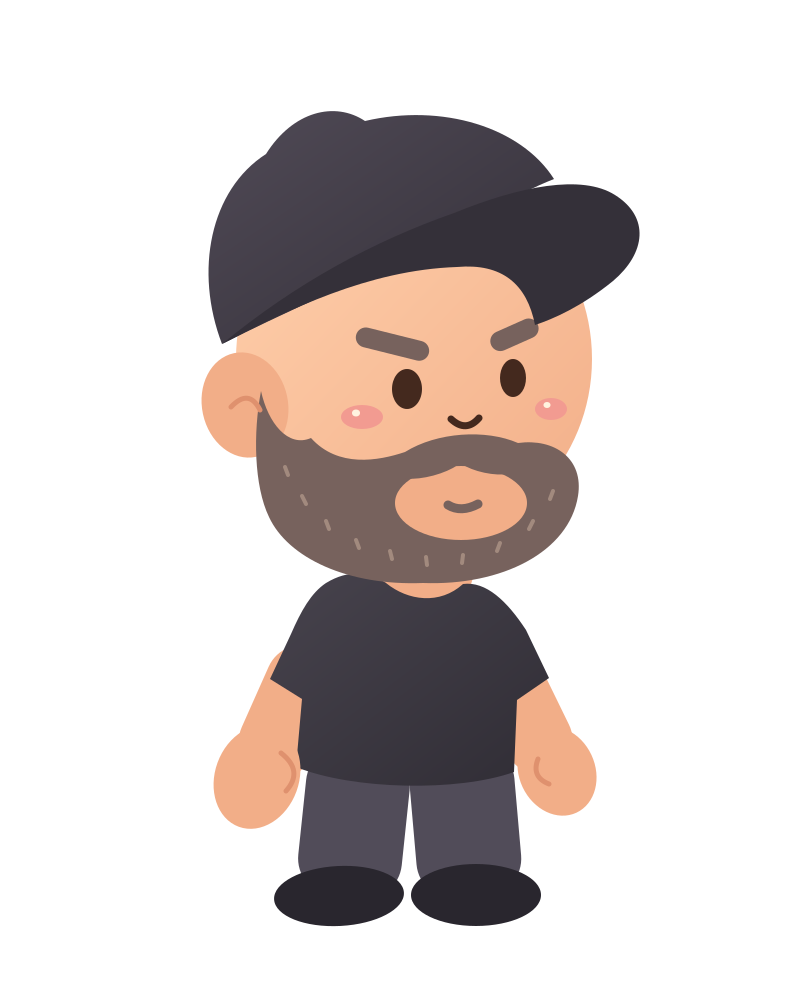
A scalable vector export with editable paths and shapes. Keep your native VectorCraft project too.
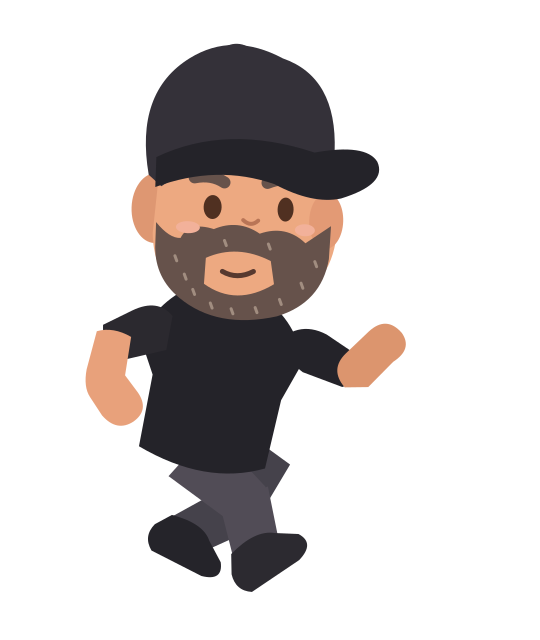
An editable SVG example for the optional platformer action-pose capstone.
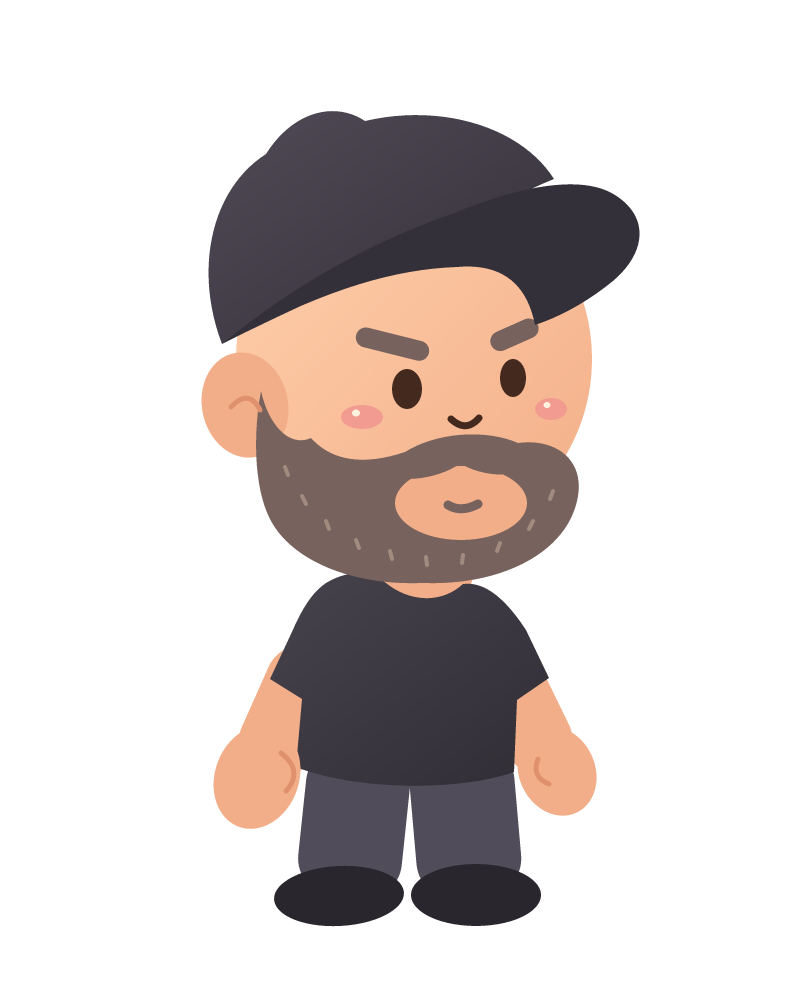
A transparent picture export for sharing or using as a game costume. A PNG keeps pixels, not editable vector paths.
Your goal
Create and save an editable 800 × 1000 document, and identify the tools, artboard, fill, stroke and Layers panel.
Vector art uses editable shapes and curves. You can make a shape larger without turning its edges into big pixel squares. We will build a simple, smooth version of Mr. S’s cap-and-beard character. The supplied PNG is our visual reference; it is not itself an editable vector drawing.
Use VectorCraft on a laptop or desktop with a mouse or trackpad. This course starts with a blank document. Work through one step at a time, then compare your artwork with the lesson checkpoint. Your drawing can be a little different from the example.
Keep the same document open between lessons. Save an editable .vectorcraft copy after each session. Opening a comparison file does not add the next lesson to your drawing; keep your own saved work separate.
Step 1 — Create a portrait document
- Choose File → New…. Name the document Mr S Vector Character. Set the units to Pixels, width to 800 and height to 1000, with one artboard.
- Use RGB Color for artwork that will appear on a screen. Create the document. The tall artboard leaves room for a large head and smaller body.
Check: One empty portrait artboard is visible. Its width is 800 and its height is 1000.
Step 2 — Find the parts of the editor
- Find the Tools at the left, the artboard in the middle, and the panels at the right. Menus across the top hold commands.
- Find Selection, Ellipse and Pen. In the toolbar, find the overlapping Fill and Stroke boxes. Open Window → Layers if Layers is hidden.
Check: You can point to the place where you draw, the tool you choose and the panel that lists your objects.
Step 3 — Try one ellipse
- Choose the Ellipse Tool (L). Drag a small oval in the middle of the artboard.
- Choose the Selection Tool (V), then drag the oval a little. Its bounding box shows that you have selected a whole object.
Check: You can move the oval without redrawing it. Only one practice object is present.
Step 4 — Try fill, stroke and undo
- With the oval selected, click the Fill box and choose a color. Fill colors the inside; Stroke colors an outline.
- Click the Stroke box, then choose None. Use Edit → Undo until the practice oval is gone. Undo removes your latest change; it does not clear the whole project at once.
Check: The artboard is blank again, and you know the difference between Fill and Stroke.
Step 5 — Name the drawing layer
- In Layers, rename the starting drawing layer Head and cap. Keep it selected.
- The layer will hold the head and facial features. We will add a Body layer later so the clothes can sit behind the head.
Check: The Layers panel lists a selected layer named Head and cap.
Step 6 — Save an editable project
- Choose File → Save As…. Save a .vectorcraft file in a folder for this course. Give your course folder a name you can find again.
- Keep this editable file even after you export pictures later. Return to your own document when you continue.

Check: You can locate your saved .vectorcraft file, and your document is still blank.
Ready for the next step?
Return here anytime to review.
Lesson discussion
Ask a question or help a classmate. Mr. S can reply here.
Loading discussion…